Eleventh Corps at Gettysburg Part 43 With Licensed Battlefield Guide Stuart Dempsey
January 17, 2012
This photograph was taken on East Cemetery Hill from the 40 feet tall wooden observation tower that had been constructed in 1878 and stood until 1895. During this time the area was under the control of the Gettysburg Battlefield Memorial Association. The artillery piece in the foreground represents the location of Cooper’s Battery B, 1st Pennsylvania Light Artillery and later Ricketts’ Batteries F&G, 1st Pennsylvania Light Artillery. The buildings of the Henry Culp Farm are in the center background. Across these open fields on the evening of July 2, 1863, Louisianans under Brigadier General Harry Hays (mostly left of center), and North Carolinians under Colonel Isaac Avery (mostly right of center) attacked towards the camera position.This image was taken circa 1878-1895 and is courtesy of Gettysburg Licensed Battlefield Guide John Archer.
Gettysburg Licensed Battlefield Guide Stuart Dempsey is our host for a series on the Eleventh Army Corps during the Battle of Gettysburg. Stuart had two relatives in the Eleventh Corps (73rd Ohio Infantry Regiment) and both were killed/mortally wounded at Gettysburg. They are both buried in the National Cemetery. Stuart has been a Licensed Battlefield Guide since 2004.
In addition to tours at Gettysburg National Military Park, Stuart also conducts tours at other historic sites in North America and Europe. He invites you to have a look at his website: www.battlegroundhistorytours.com.
In today’s Eleventh Corps post, Gettysburg Licensed Battlefield Guide Stuart Dempsey presents the role of Colonel Leopold von Gilsa’s Brigade in the afternoon and evening of July 2, 1863.
This map shows the location of where our Eleventh Corps at Gettysburg videos were produced. Videos #1-#122 were shown in our previous Eleventh Corps posts. Video #123 was taken near the monument to the 54th New York Infantry Regiment. Video #124 was taken near the monument 153rd Pennsylvania Infantry Regiment. Video #125 was taken near the monument to the 41st New York Infantry Regiment. This map was created facing north at approximately 4:00 PM on Saturday, January 14, 2012.
Gettysburg Licensed Battlefield Guide Stuart Dempsey is the host for our Eleventh Corps series. He is standing on Wainwright Avenue at the base of East Cemetery Hill. Stevens’ Knoll and Culp’s Hill are in the left background. The light colored marker to the left of Wainwright Avenue is to the 7th West Virginia Infantry Regiment. The first large monument is to the 68th New York. On the other side of the stone wall is the marker for Von Gilsa’s Brigade, the monument to the 153rd Pennsylvania, and the monument to the 41st New York. This view was taken facing southeast at approximately 12:15 PM on Monday, December 19, 2011.
In Video #123 (Videos #1-#122 were shown in our previous Eleventh Corps posts) Gettysburg Licensed Battlefield Guide Stuart Dempsey is standing on Wainwright Avenue at the base of East Cemetery Hill. He explains the positions of the regiments in Von Gilsa’s Brigade. This view was taken facing southeast at approximately 12:15 PM on Monday, December 19, 2011.
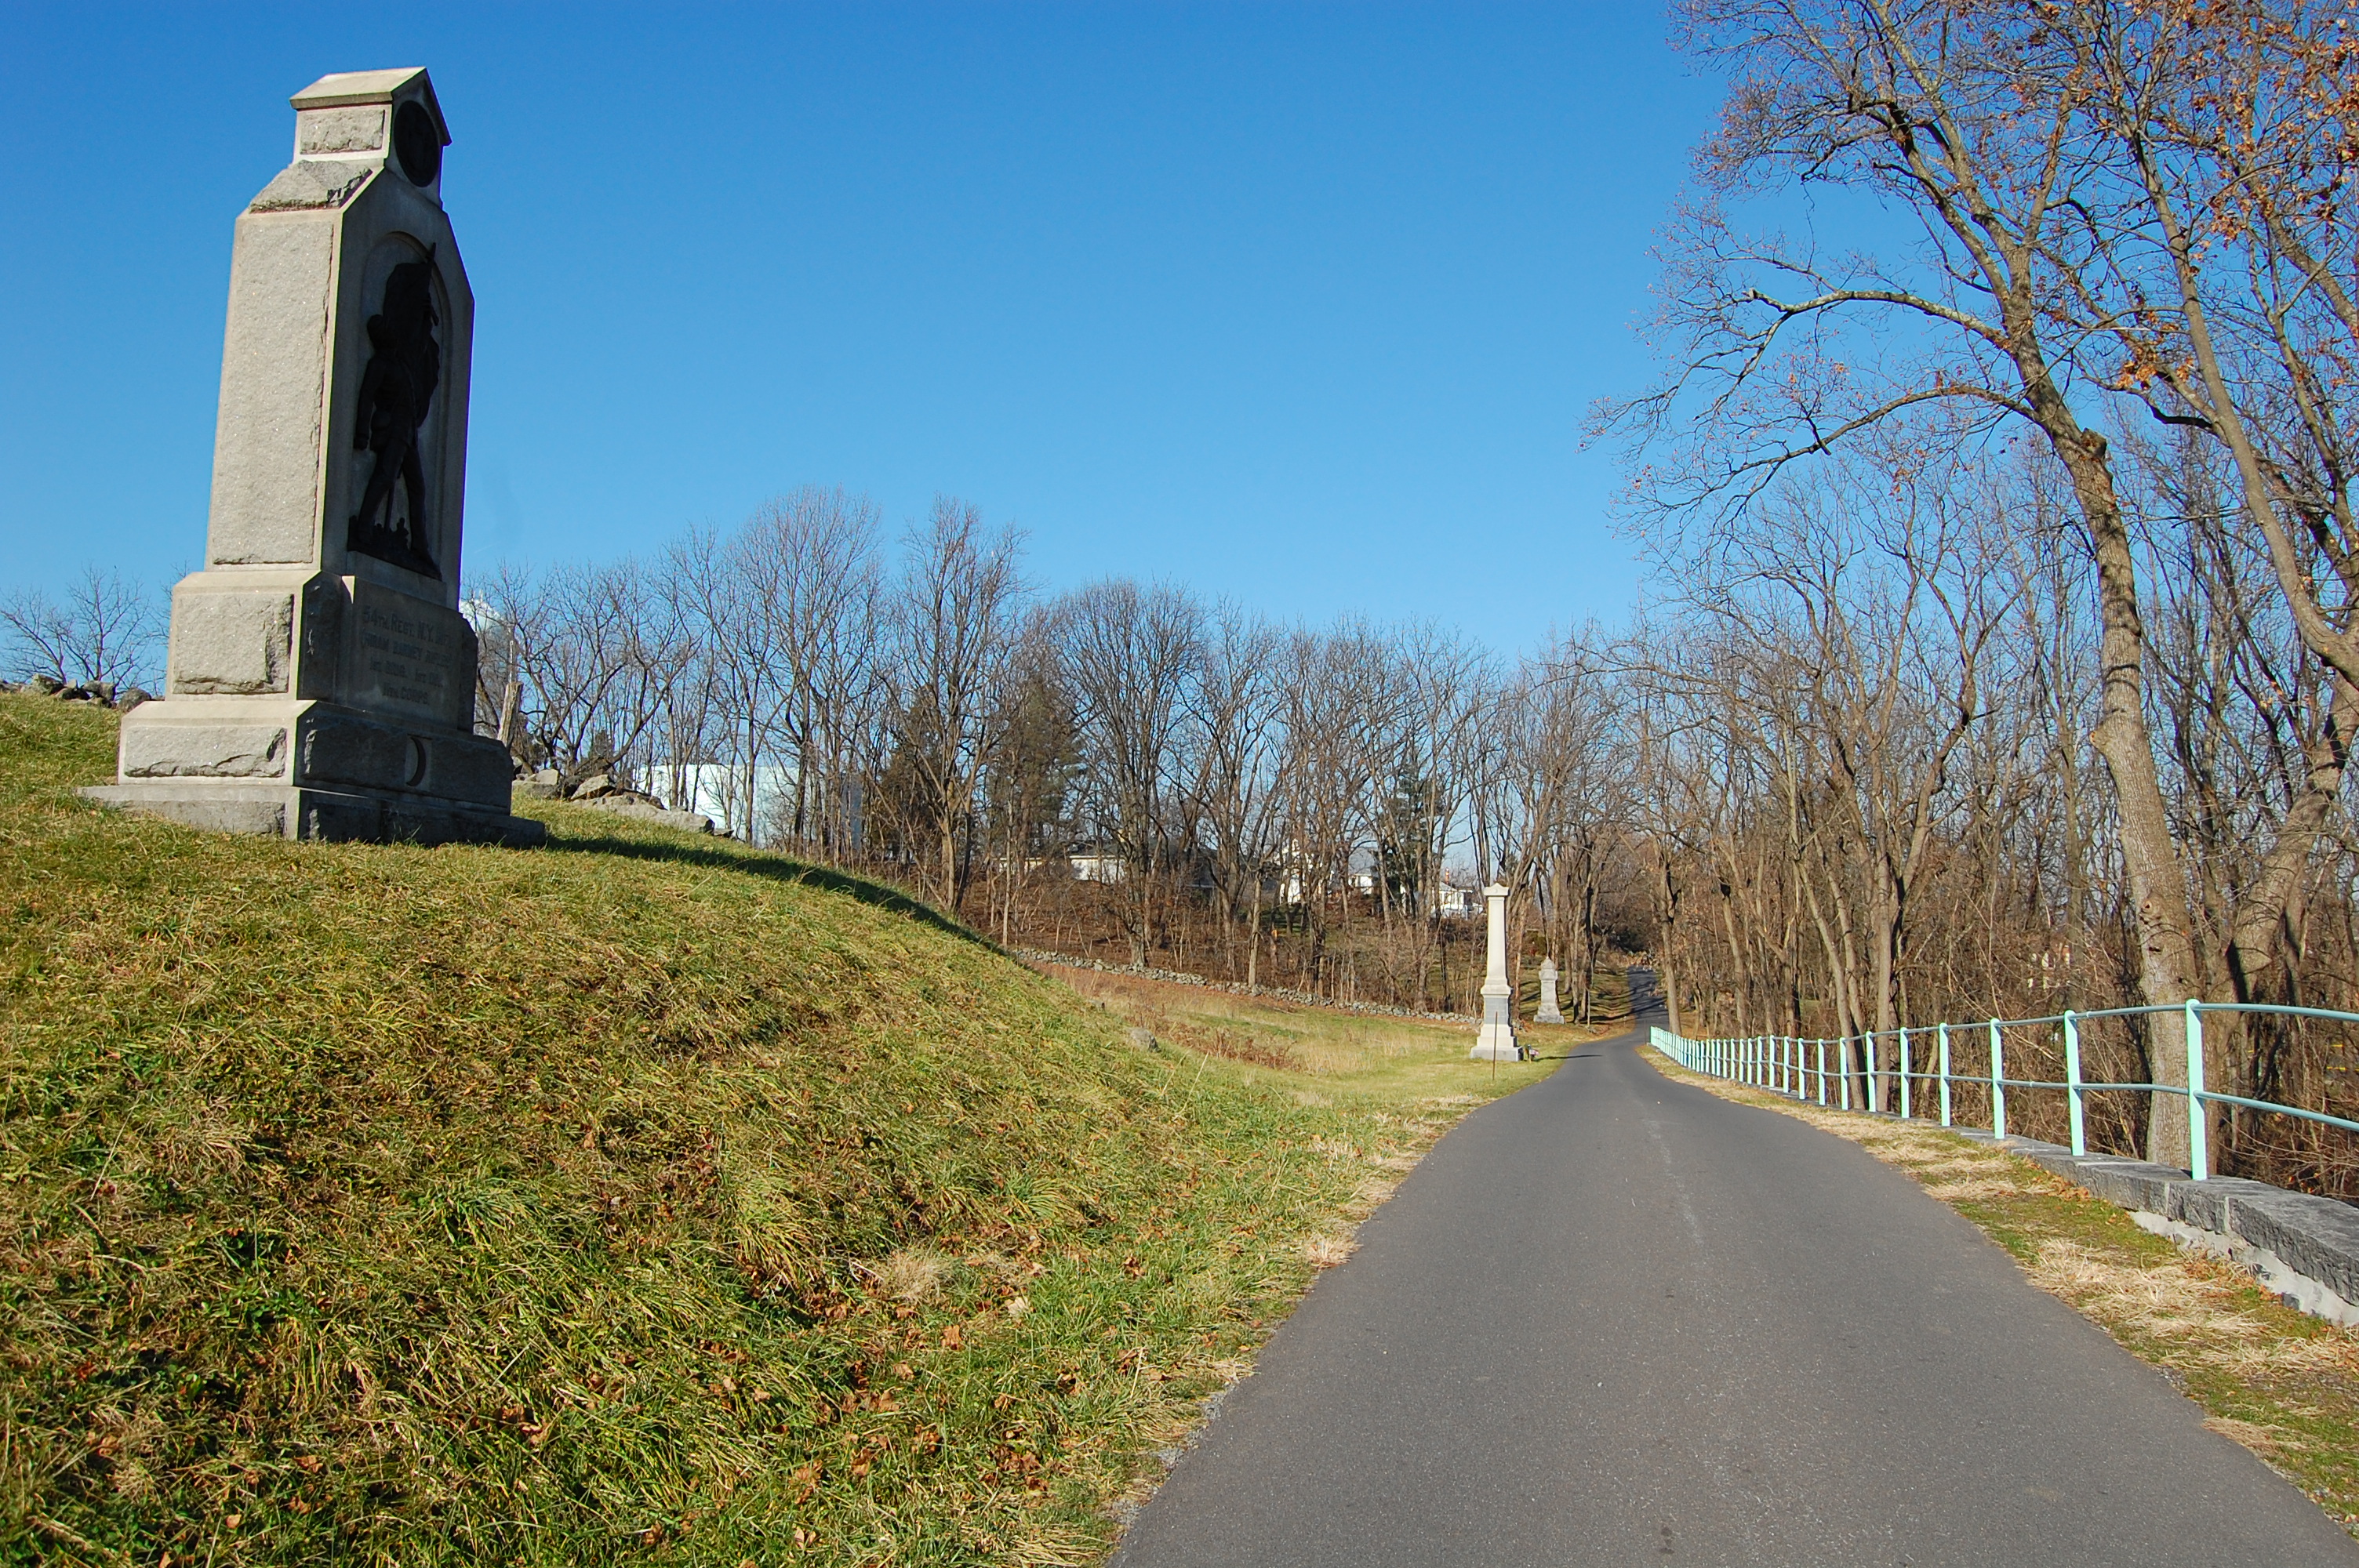
Looking back the other way on Wainwright Avenue. The monuments from left to right are: 54th New York, 17th Connecticut, and the 15th/75th Ohio. This view was taken facing northwest at approximately 12:15 PM on Monday, December 19, 2011.
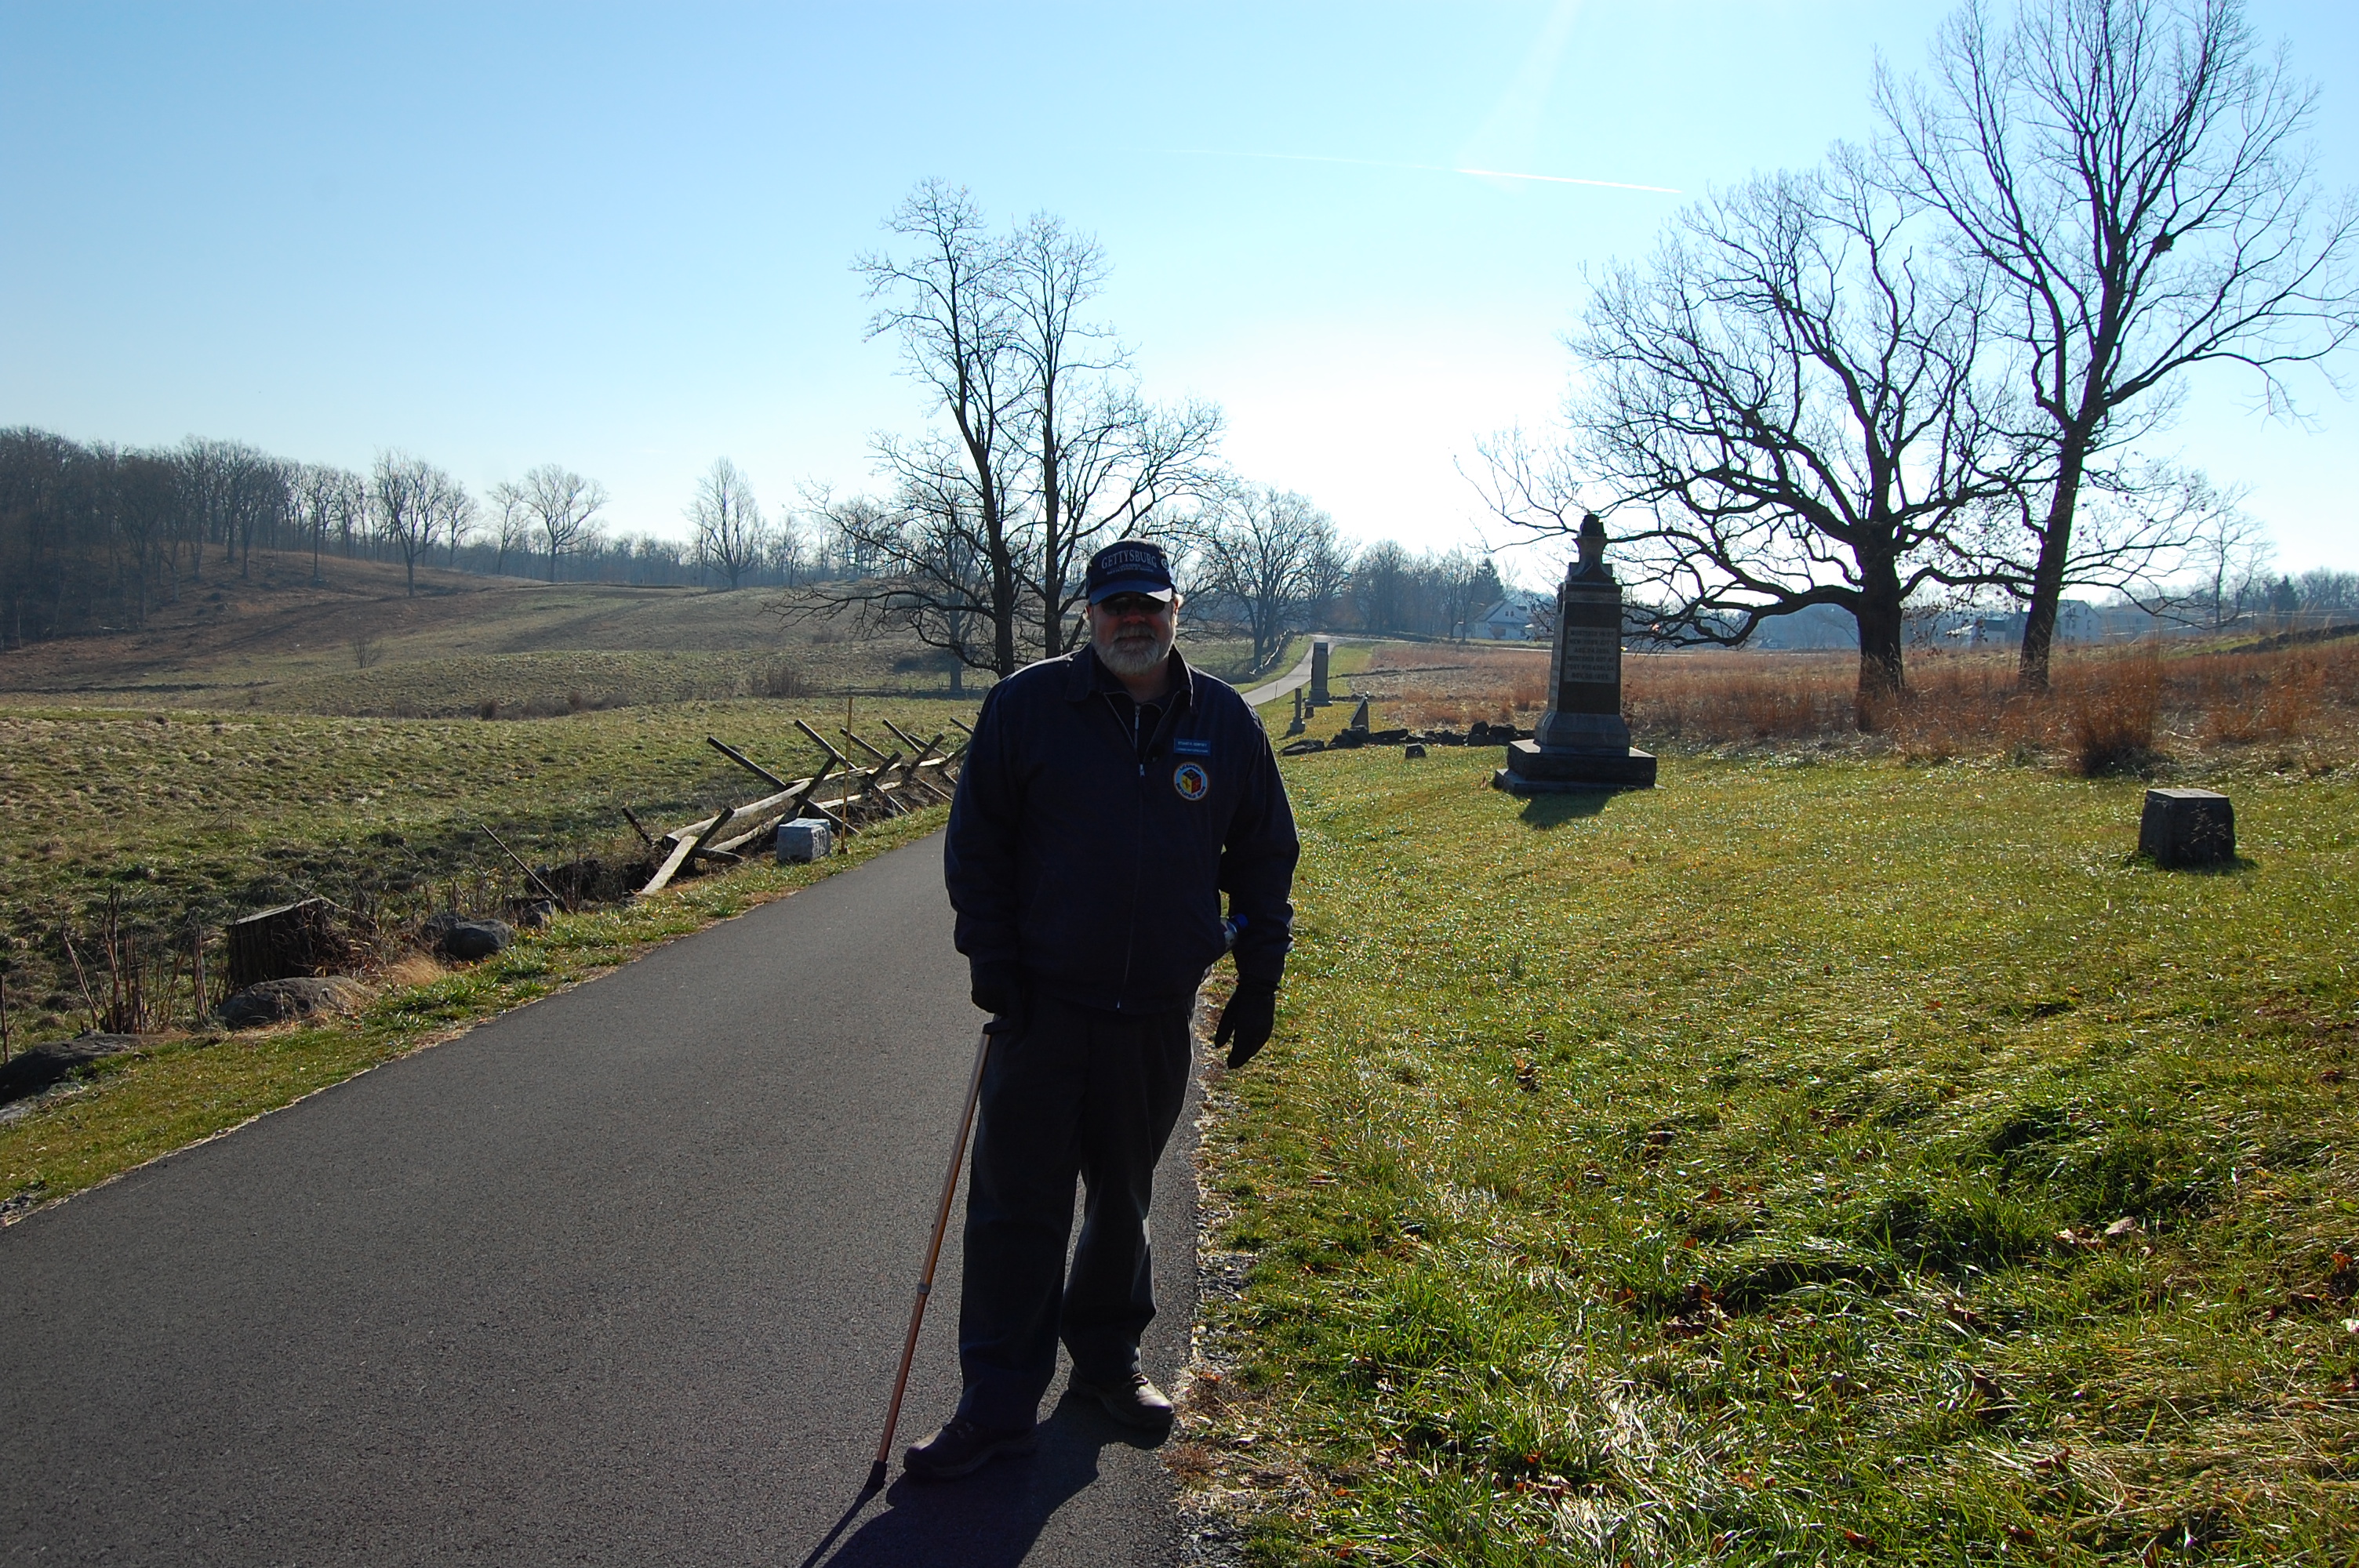
Licensed Battlefield Guide Stuart Dempsey has moved farther south on Wainwright Avenue near the marker for Colonel Leopold von Gilsa’s Brigade, which is behind the camera. Avery’s North Carolinians charged across the fields behind Stuart, and towards the camera on the evening of July 2, 1863. This view was taken facing northeast at approximately 12:15 PM on Monday, December 19, 2011.
In Video #124 Licensed Battlefield Guide Stuart Dempsey is standing at the base of East Cemetery Hill near the marker to Colonel Leopold von Gilsa’s Brigade. He explains how the Confederates in Avery’s Brigade attacked this position on the evening of July 2, 1863. This view was taken facing northeast to southwest to west at approximately 12:15 PM on Monday, December 19, 2011.
Another view of the ground over which the North Carolinians attacked. This view was taken facing northeast at approximately 12:15 PM on Monday, December 19, 2011.
This section of Wainwright Avenue was occupied by the right of Von Gilsa’s Brigade. The monument to the 41st New York Infantry Regiment would be out of sight on the right. Stevens’ Knoll/McKnight’s Hill is in the left background. This view was taken facing southeast at approximately 12:15 PM on Monday, December 19, 2011.
In Video #125 Stuart Dempsey is standing near the monument to the 41st New York Regiment. He explains how right side of Von Gilsa’s Brigade repositioned themselves after Avery’s North Carolinians attacked the left and center of Von Gilsa’s line. This view was taken facing southeast to northwest at approximately 12:15 PM on Monday, December 19, 2011.
Stuart Dempsey is standing on the slope of East Cemetery Hill. Behind him is the stone wall which the 41st New York might have used for cover as they shot into the left flank of Confederates attacking up the hill on the evening of July 2, 1863. Visible at the top of the hill from left to right are: Evergreen Cemetery Gatehouse, 4th Ohio Monument, Hancock equestrian statue, Cooper’s Battery monument, and the top of the monument to the 14th Indiana. To the right of Stuart is the equestrian monument to Major General Oliver O. Howard. This view was taken facing northwest at approximately 12:15 PM on Monday, December 19, 2011.
There are not yet any histories of the Eleventh Corps that are in print. Here is the autobiography of Oliver O. Howard, who commanded the Eleventh Corps at Gettysburg. For ordering information, click here.
To see other posts by Gettysburg Licensed Battlefield Guides,click here.