

Benner’s Hill is a spot in Gettysburg National Military Park not frequently visited by the average student of Gettysburg. Approximately 20 Confederate artillery pieces were lined up here on the afternoon of July 2, 1863. This view was taken facing northwest at approximately 9:45 AM on Friday, April 10, 2009.
Benner’s Hill is a spot in Gettysburg National Military Park not frequently visited by the average student of Gettysburg. Gettysburg Licensed Battlefield Guide Tony DeLacy is our host for the series on the hill, and the action that occurred here on July 2, 1863. In our first Benner’s Hill post, we covered the the basic layout of the hill. In today’s post we cover the alignment of the Confederate artillery by Major Joseph Latimer.
To contact Tony Delacy click here to reveal his email address
See our first post on Benner’s Hill on April 8, 2008.
To see other posts by Gettysburg Licensed Battlefield Guides, click here.

This map shows the location of the videos that we shot for this post. Video #1 was taken near the turnaround area at the south end of Benner’s Hill. Videos #2 and #3 were taken just north of the turnaround. Videos #4-#6 were taken near the National Park Service wayside marker. This map was created facing east at approximately 7:15 PM on Monday, May 4, 2009.

Our host for the Benner’s Hill post is Gettysburg Licensed Battlefield Guide Tony DeLacy. He is standing by the National Park Service wayside marker on Benner’s Hill. This view was taken facing west at approximately 9:45 AM on Friday, April 10, 2009.
In Video #4 (Videos #1-#3) were seen in our previous post), Gettysburg Licensed Battlefield Guide Tony DeLacy discusses the career of Major Joseph Latimer, and why he chose Benner’s Hill to place his artillery on July 2, 1863. This view was taken facing west and then a couple of other directions at approximately 9:45 AM on Friday, April 10, 2009.
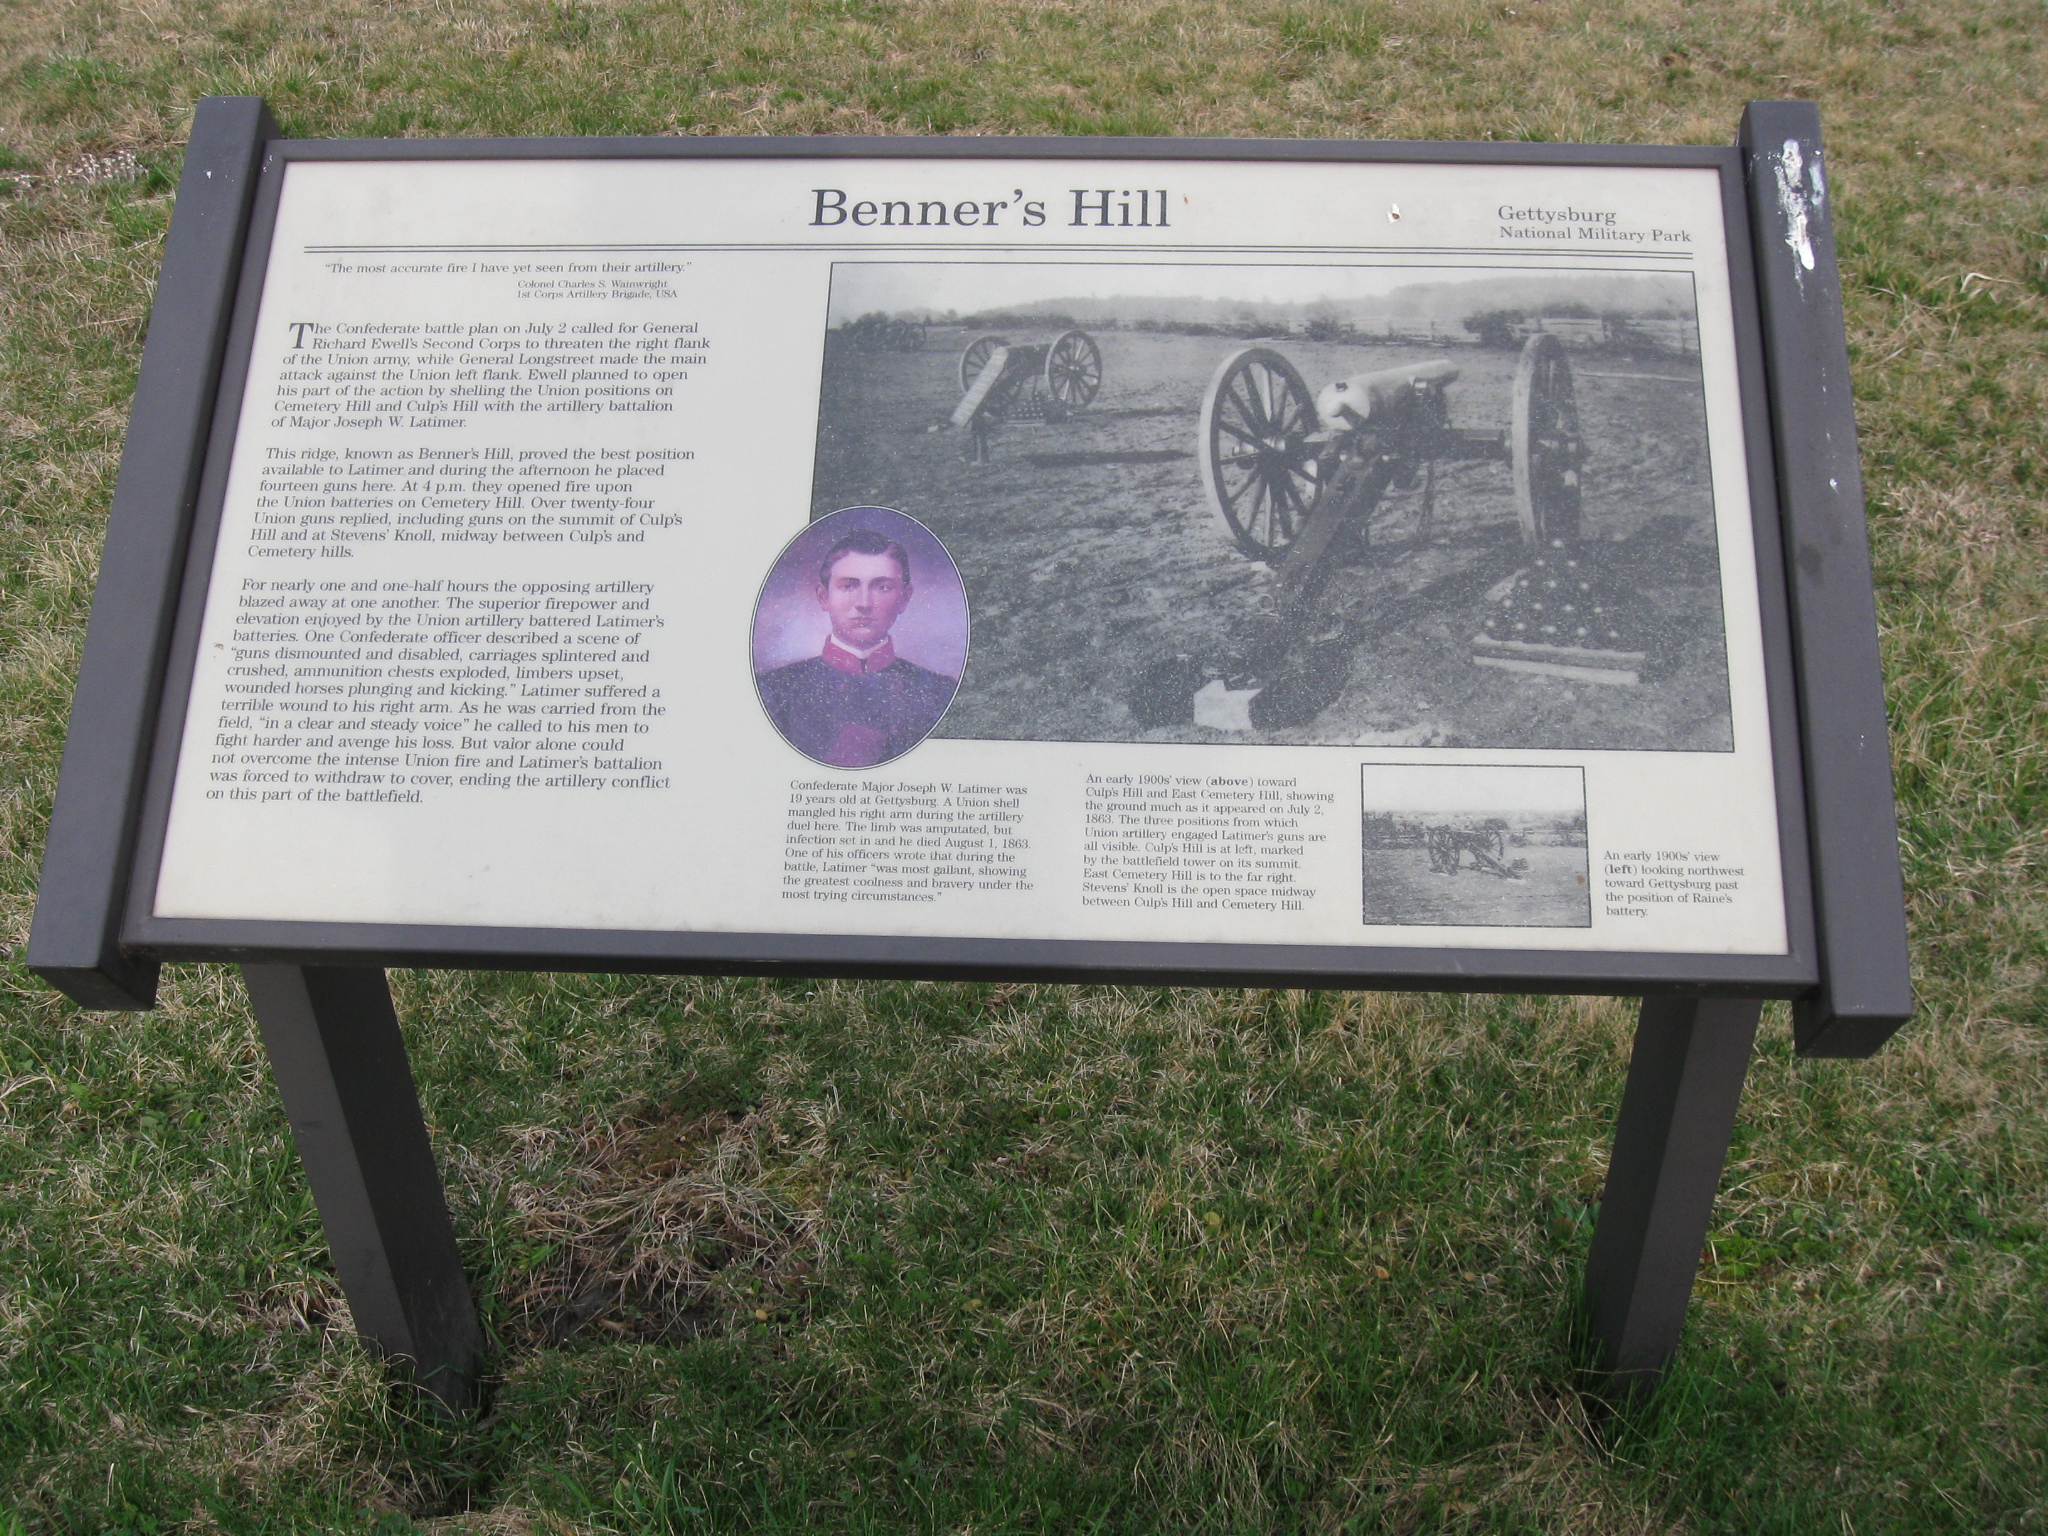
Here’s the wayside exhibit on Benner’s Hill. Remember to click on any of our images for a larger picture. This view was taken facing west at approximately 9:45 AM on Friday, April 10, 2009.
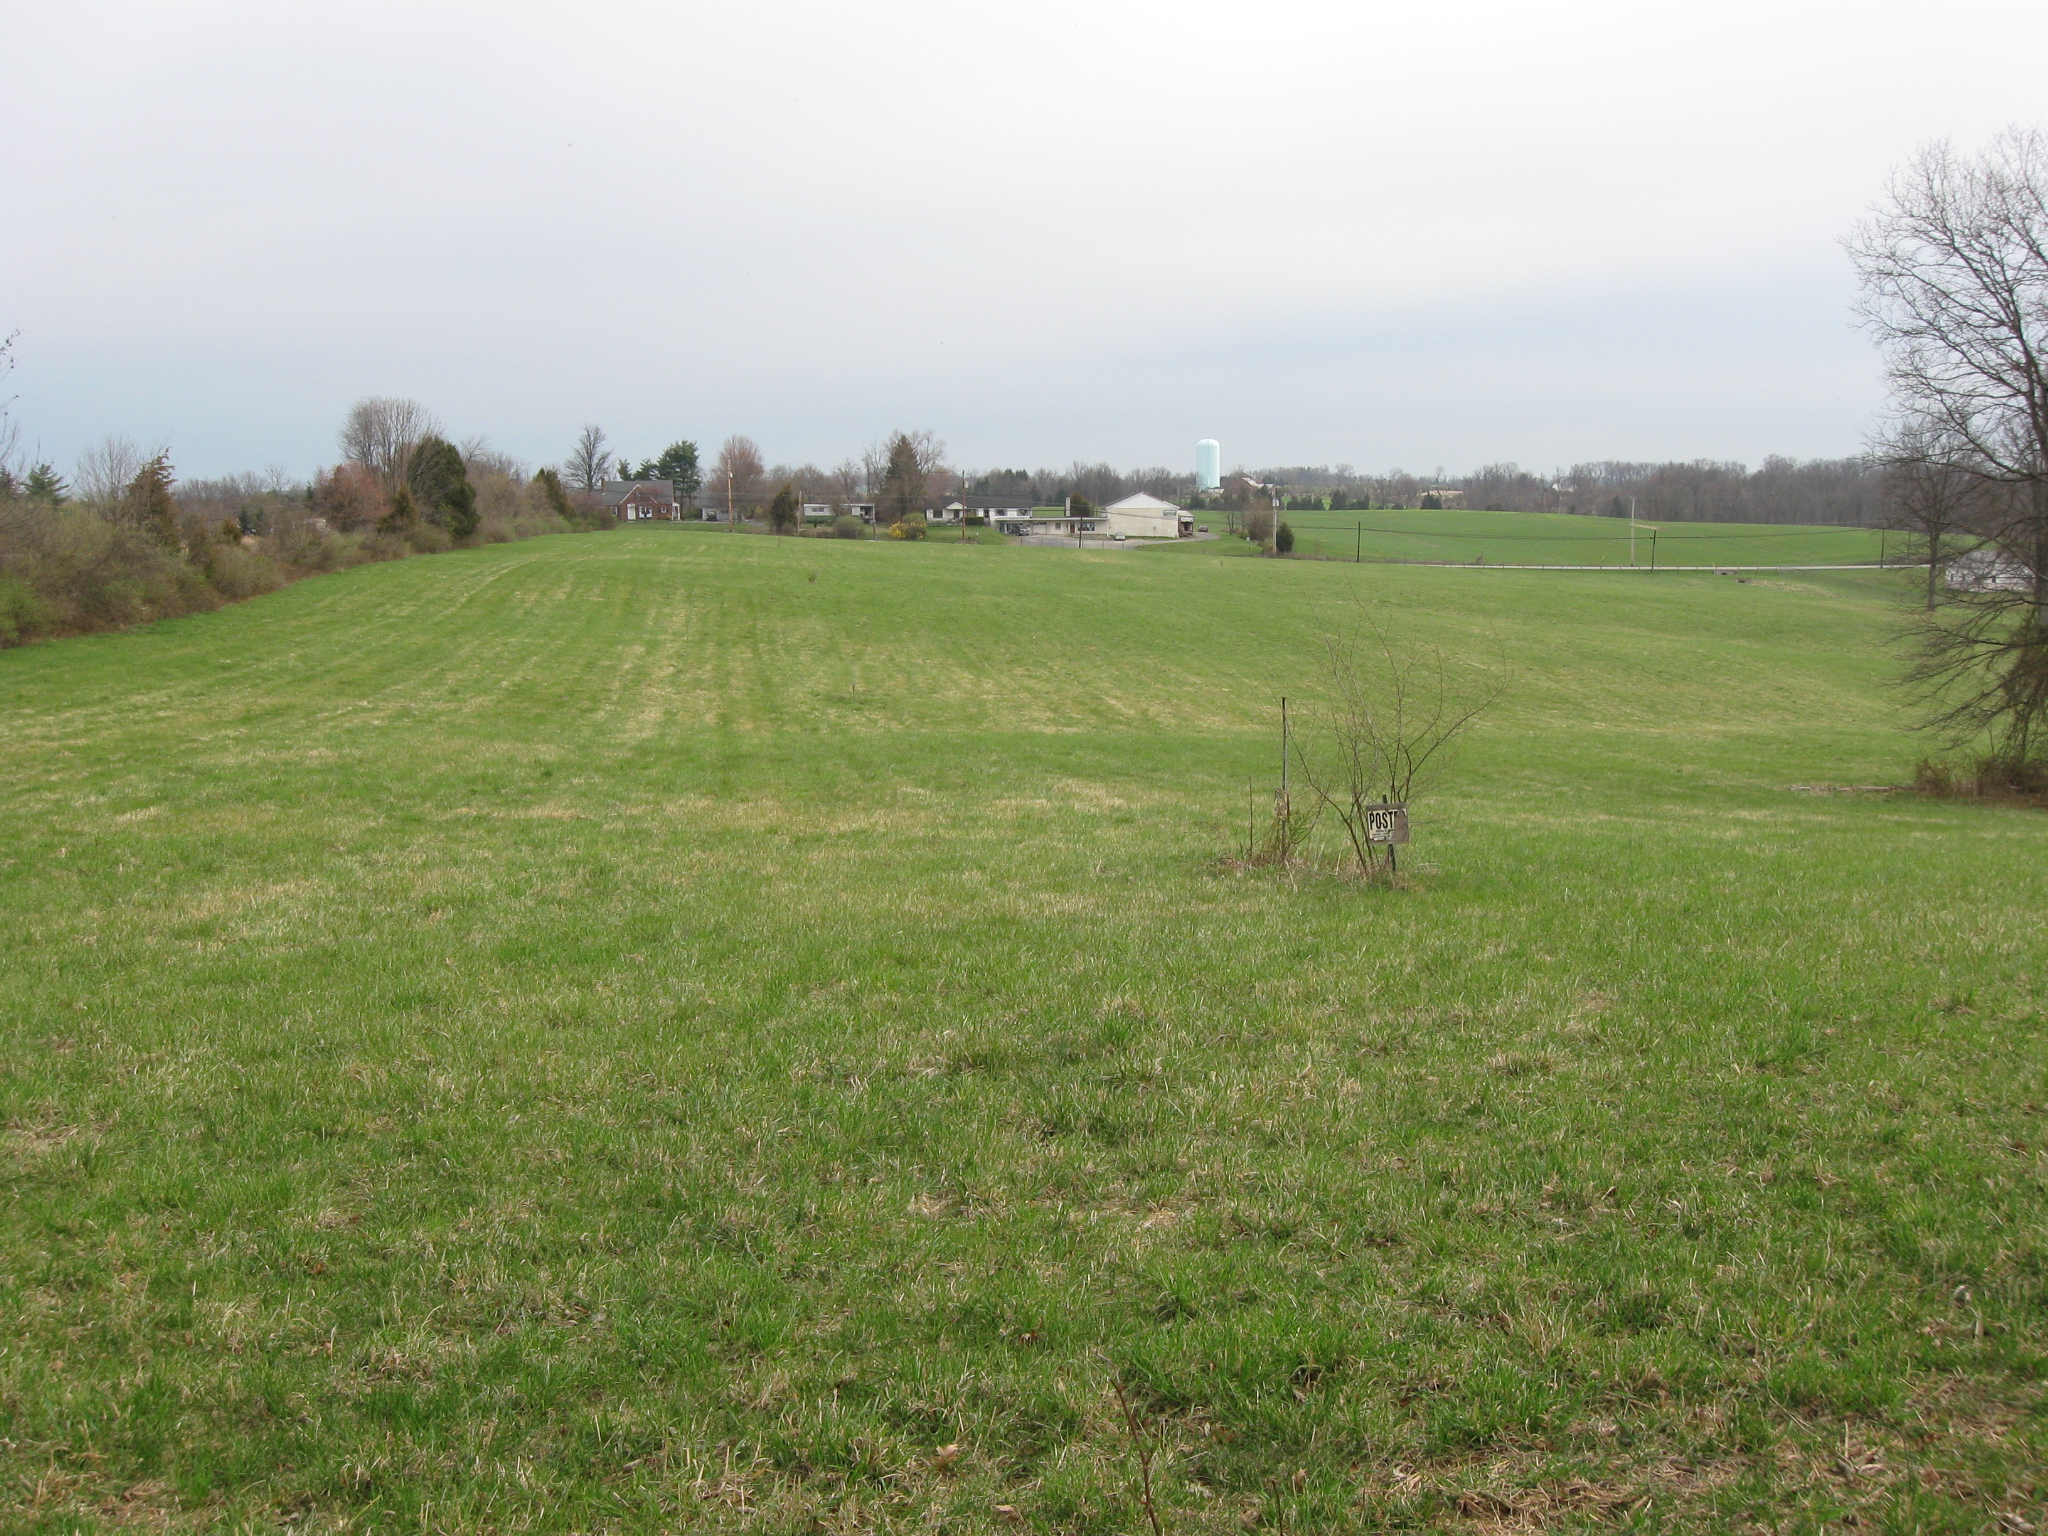
When Major Latimer brought his artillery to this area, he first arranged them in the low, saucer-like depression on the right (east) side of Benner’s Hill. He then moved the artillery from right to left (to the top of Benner’s Hill) when he was ready to fire on Cemetery Hill and Culp’s Hill. This view was taken facing north at approximately 9:45 AM on Friday, April 10, 2009.
In Video #5, Tony points out where Latimer’s Artillery Battalion formed before they moved to the top of the hill. He also discusses the purpose of placing artillery here– to subject the Union artillery on Cemetery Hill to converging fire. This view was taken facing west at approximately 9:45 AM on Friday, April 10, 2009.

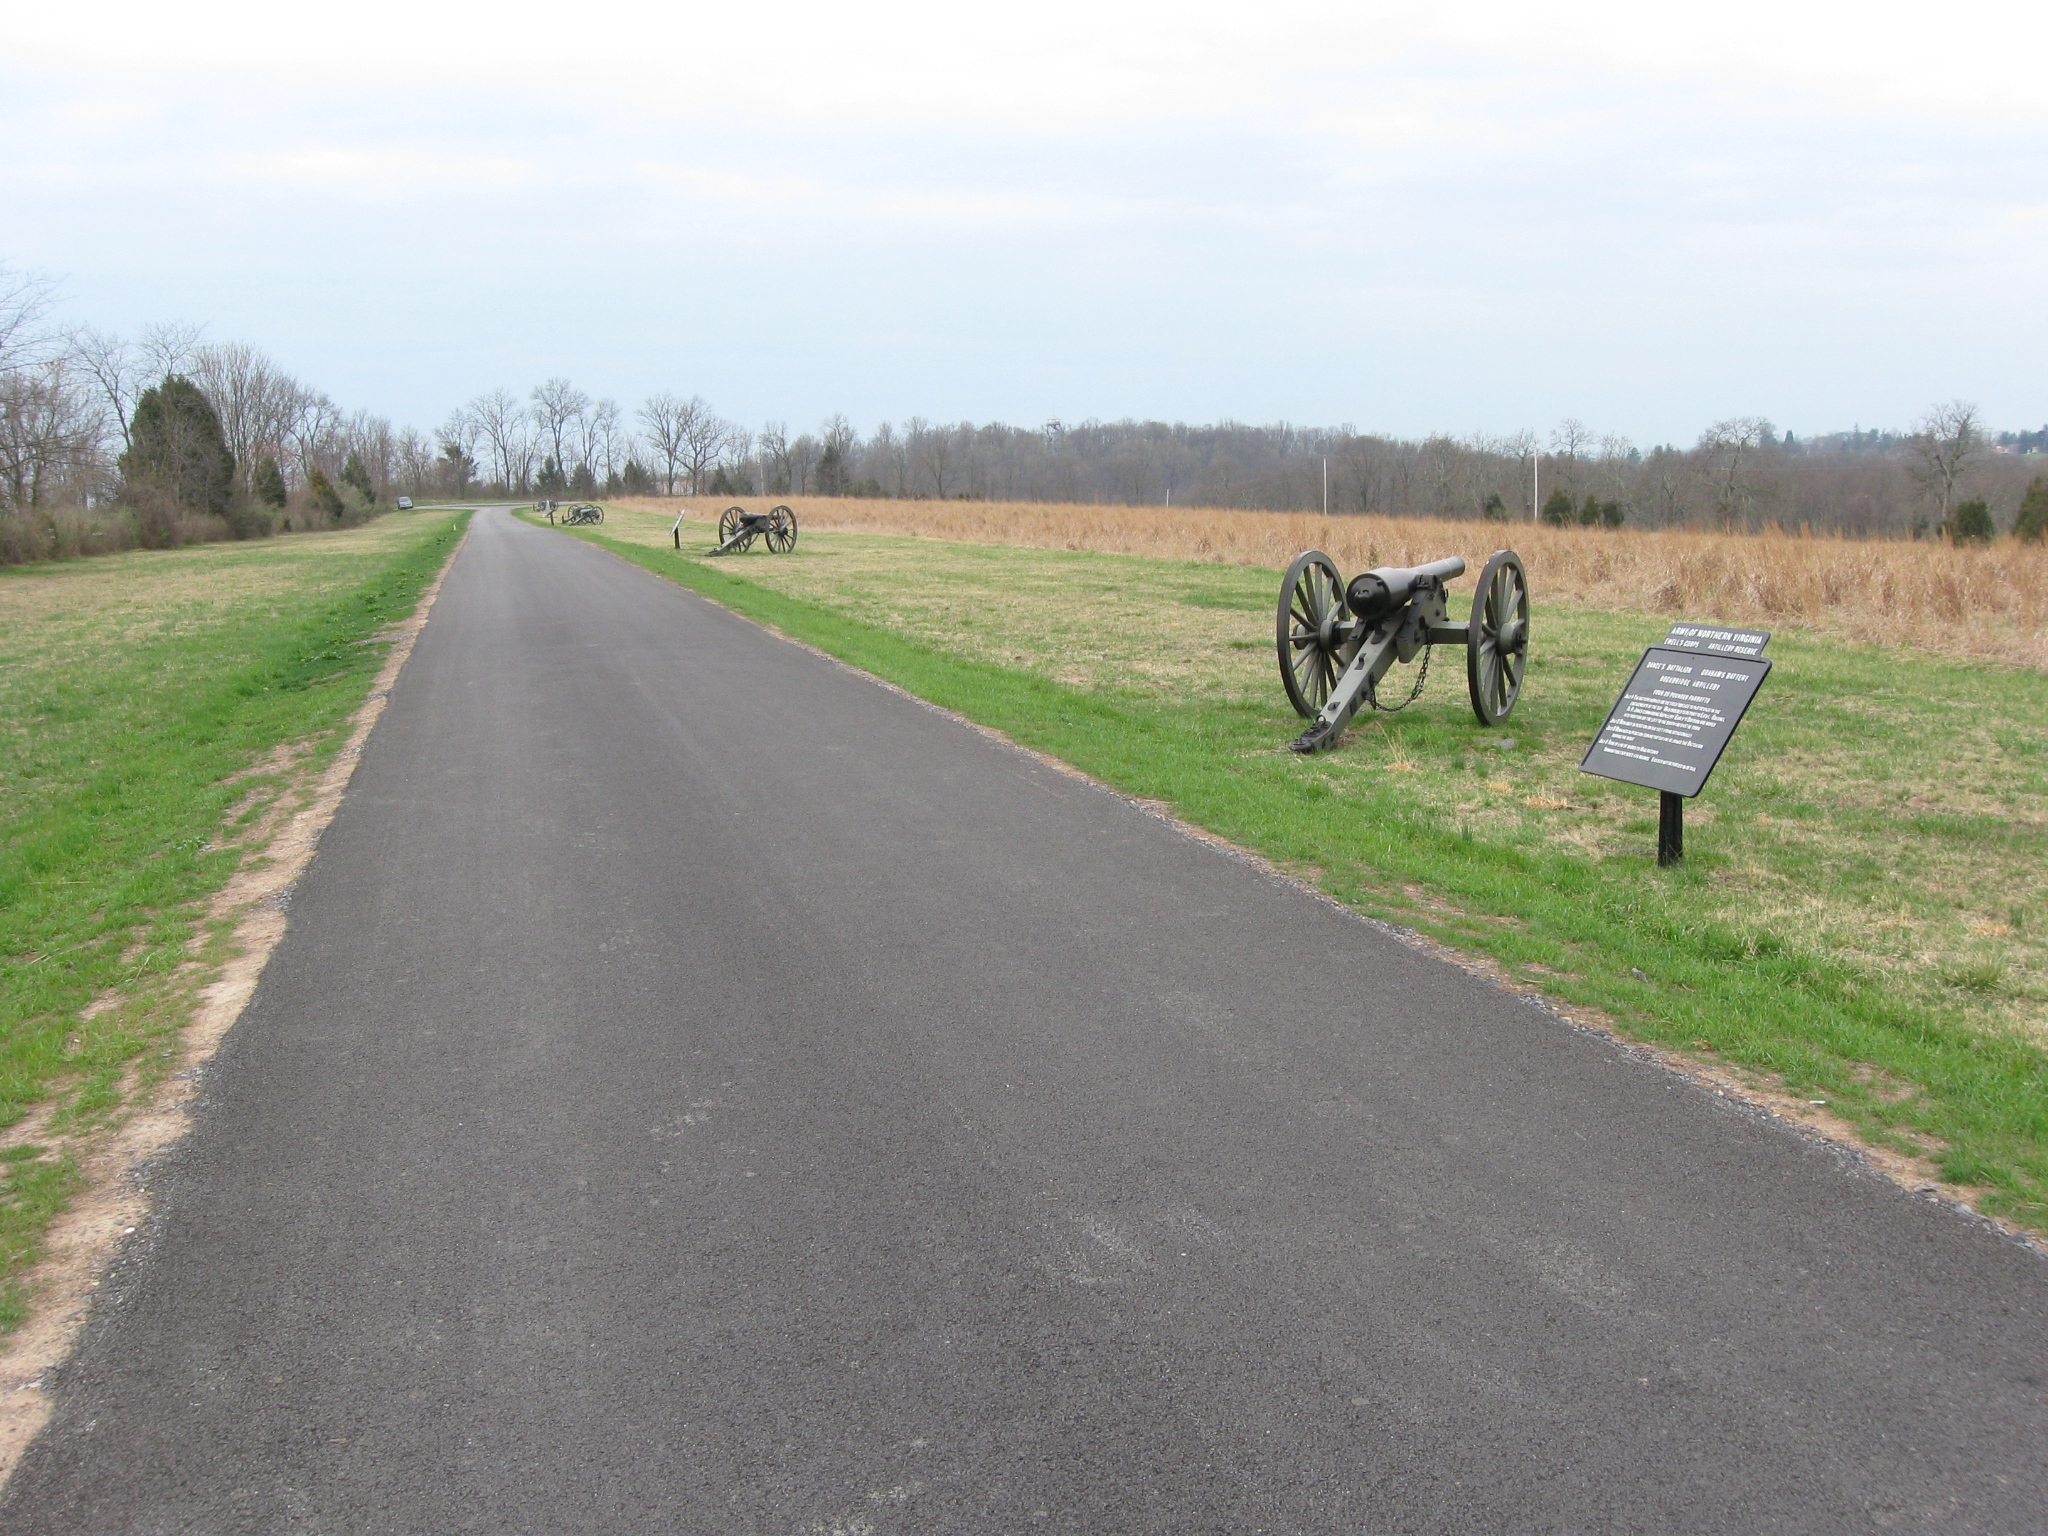
The marker for Latimer’s Artillery Battalion. This view was taken facing west at approximately 9:45 AM on Friday, April 10, 2009.

A closer view of the marker for Latimer’s Artilllery Battalion. This view was taken facing west at approximately 9:45 AM on Friday, April 10, 2009.

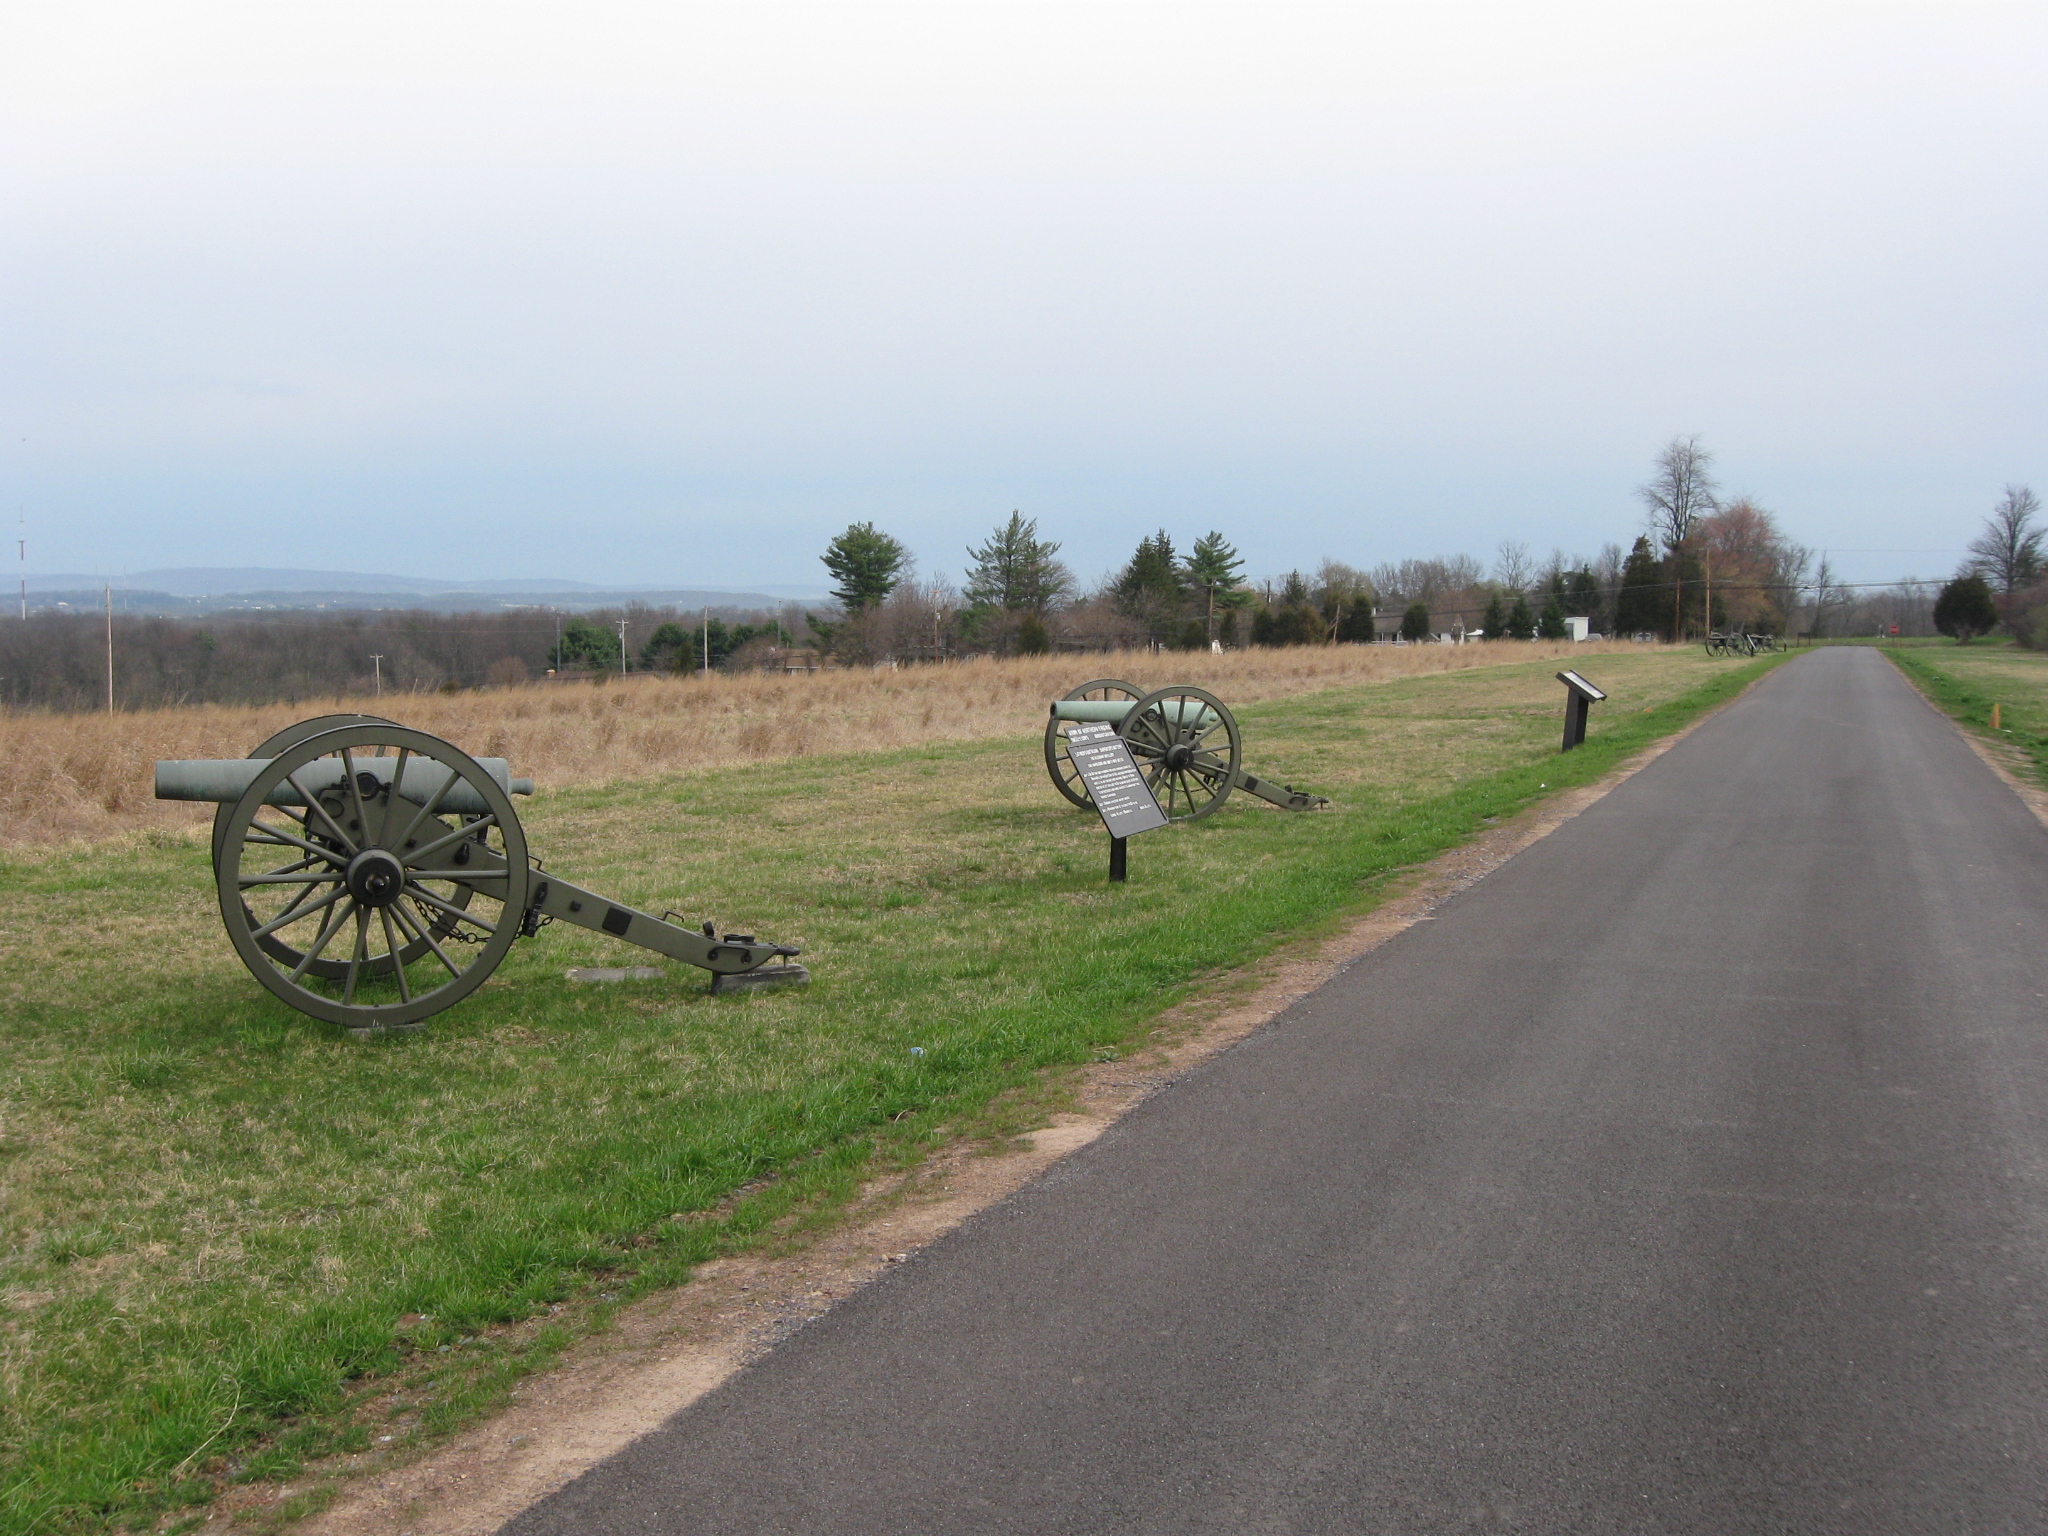
There are three different types of artillery that Latimer placed on Benner’s Hill. This view was taken facing northwest at approximately 9:45 AM on Friday, April 10, 2009.

The twelve-pounder smoothbores were placed closer to their targets on Cemetery Hill and Culp’s Hill. This view was taken facing northwest at approximately 9:45 AM on Friday, April 10, 2009.
The 20-pounder Parrotts… This view was taken facing southwest at approximately 9:45 AM on Friday, April 10, 2009.

… and the 10-pounder parrotts were farther from their targets than the smoothbores. This view was taken facing northwest at approximately 9:45 AM on Friday, April 10, 2009.
In Video #6, Tony explains the advanages and disadvantages of the Benner’s Hill position, the ranges to Culp’s Hill and Cemetery Hill, and the placement of the guns. This view was taken facing west at approximately 9:45 AM on Friday, April 10, 2009.

The targets were primarily Cemetery Hill on the right, and Culp’s Hill on the left. This view was taken facing southwest at approximately 9:45 AM on Friday, April 10, 2009.
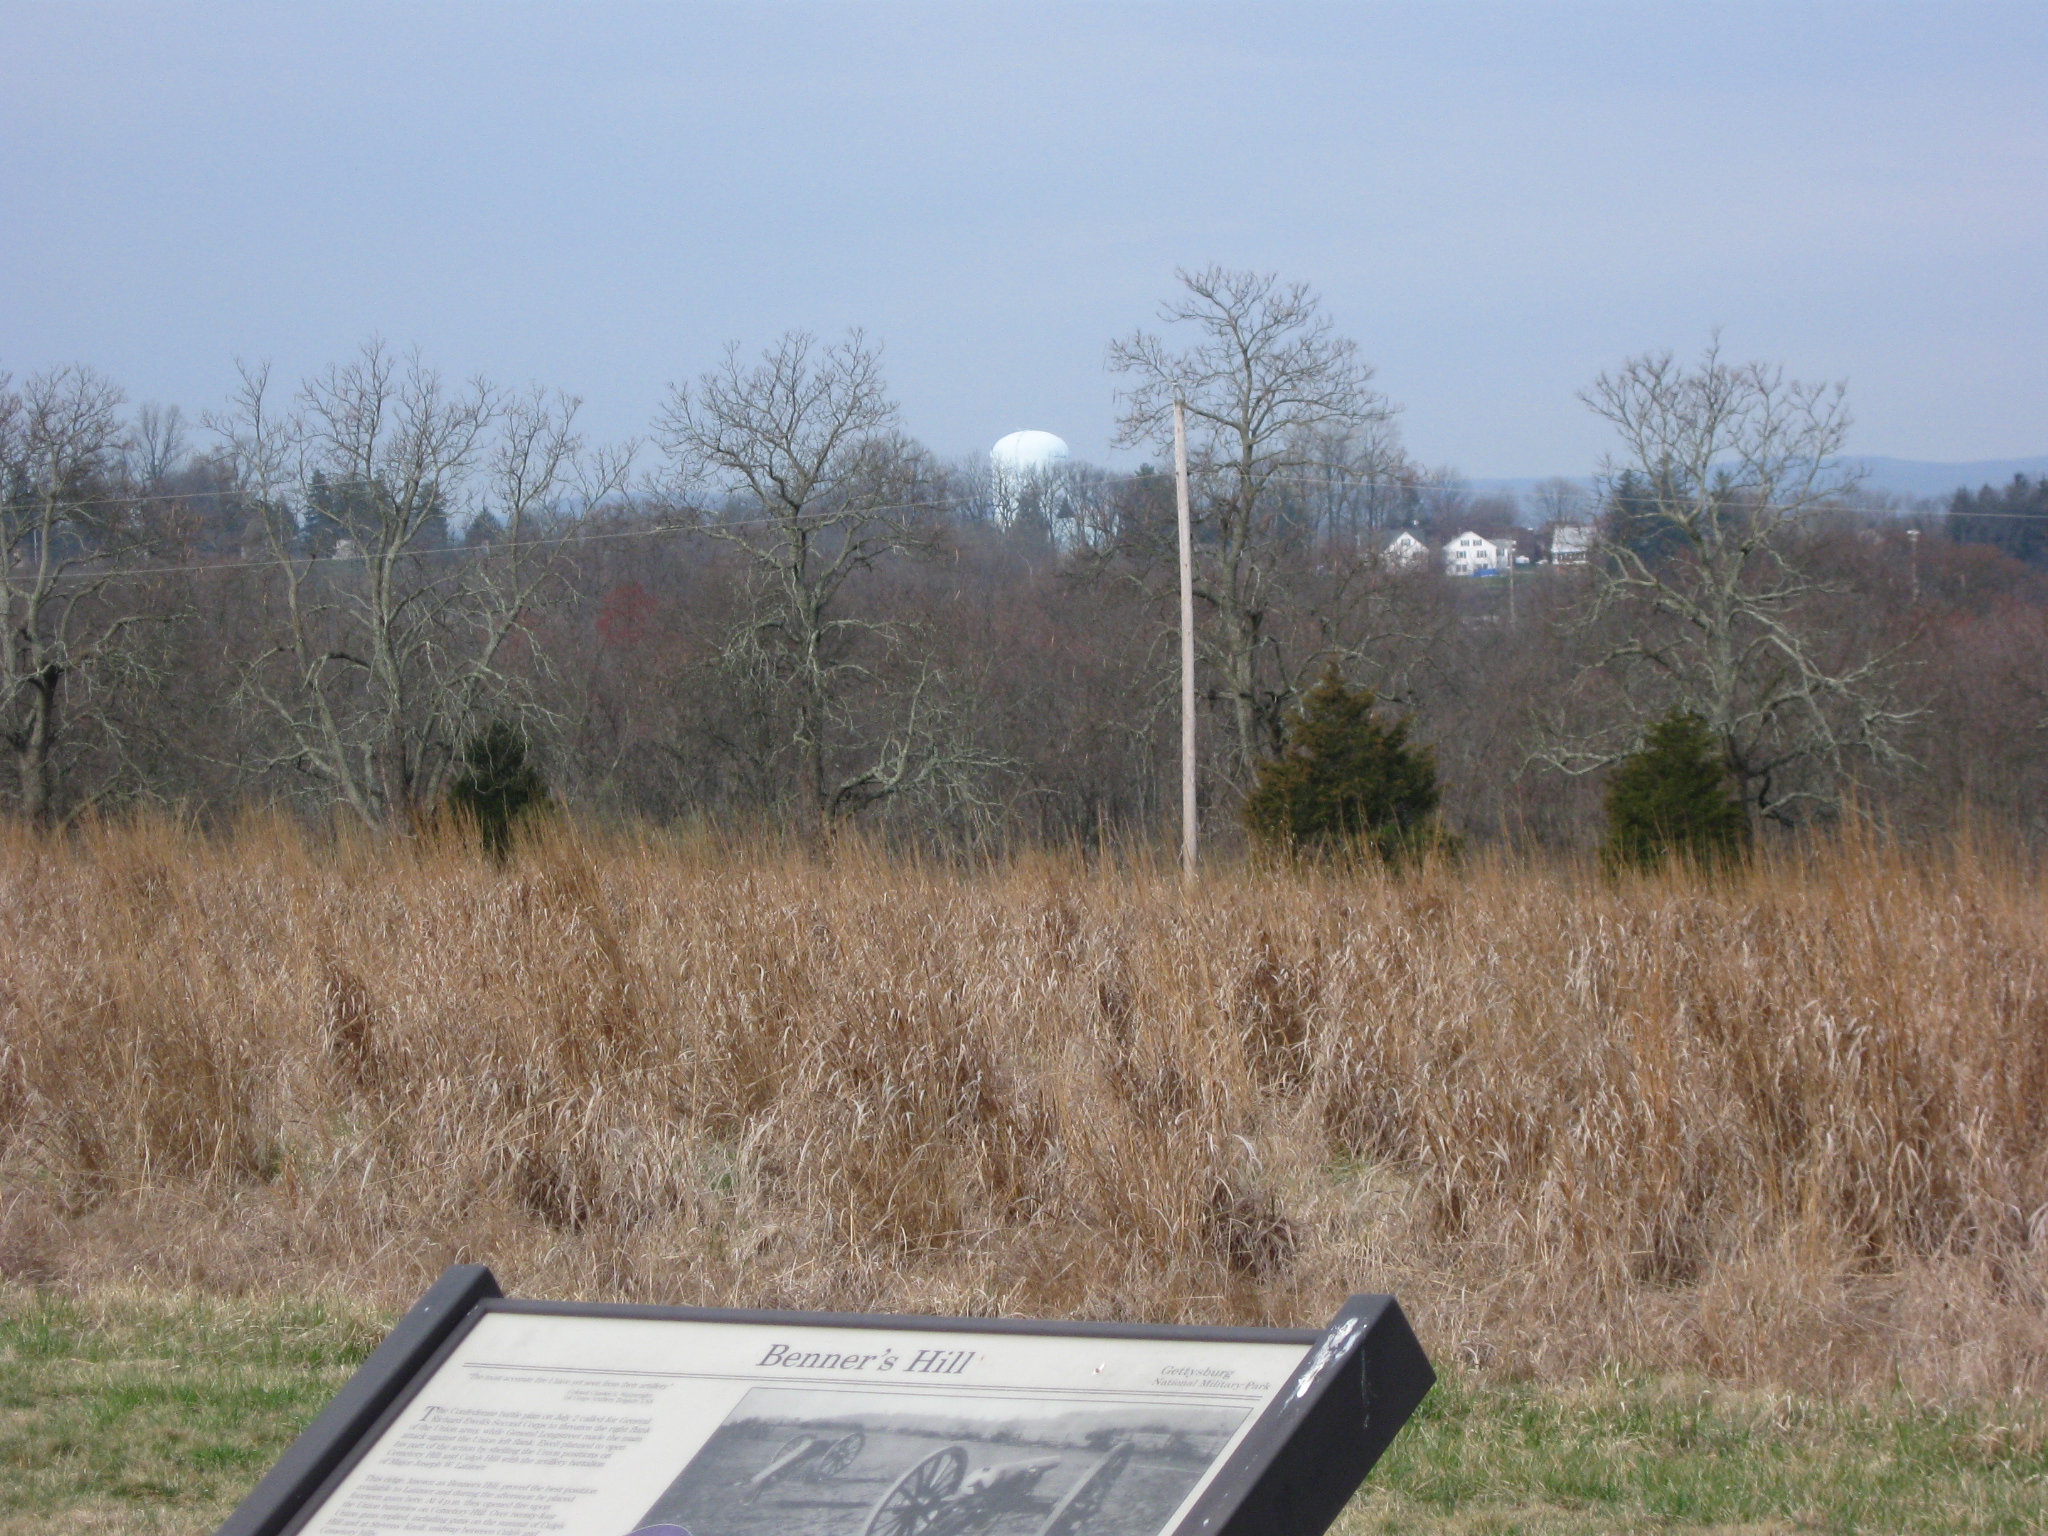
Cemetery Hill (especially East Cemetery Hill) is marked by this light blue/light green water tank. This view was taken facing southwest at approximately 9:45 AM on Friday, April 10, 2009.
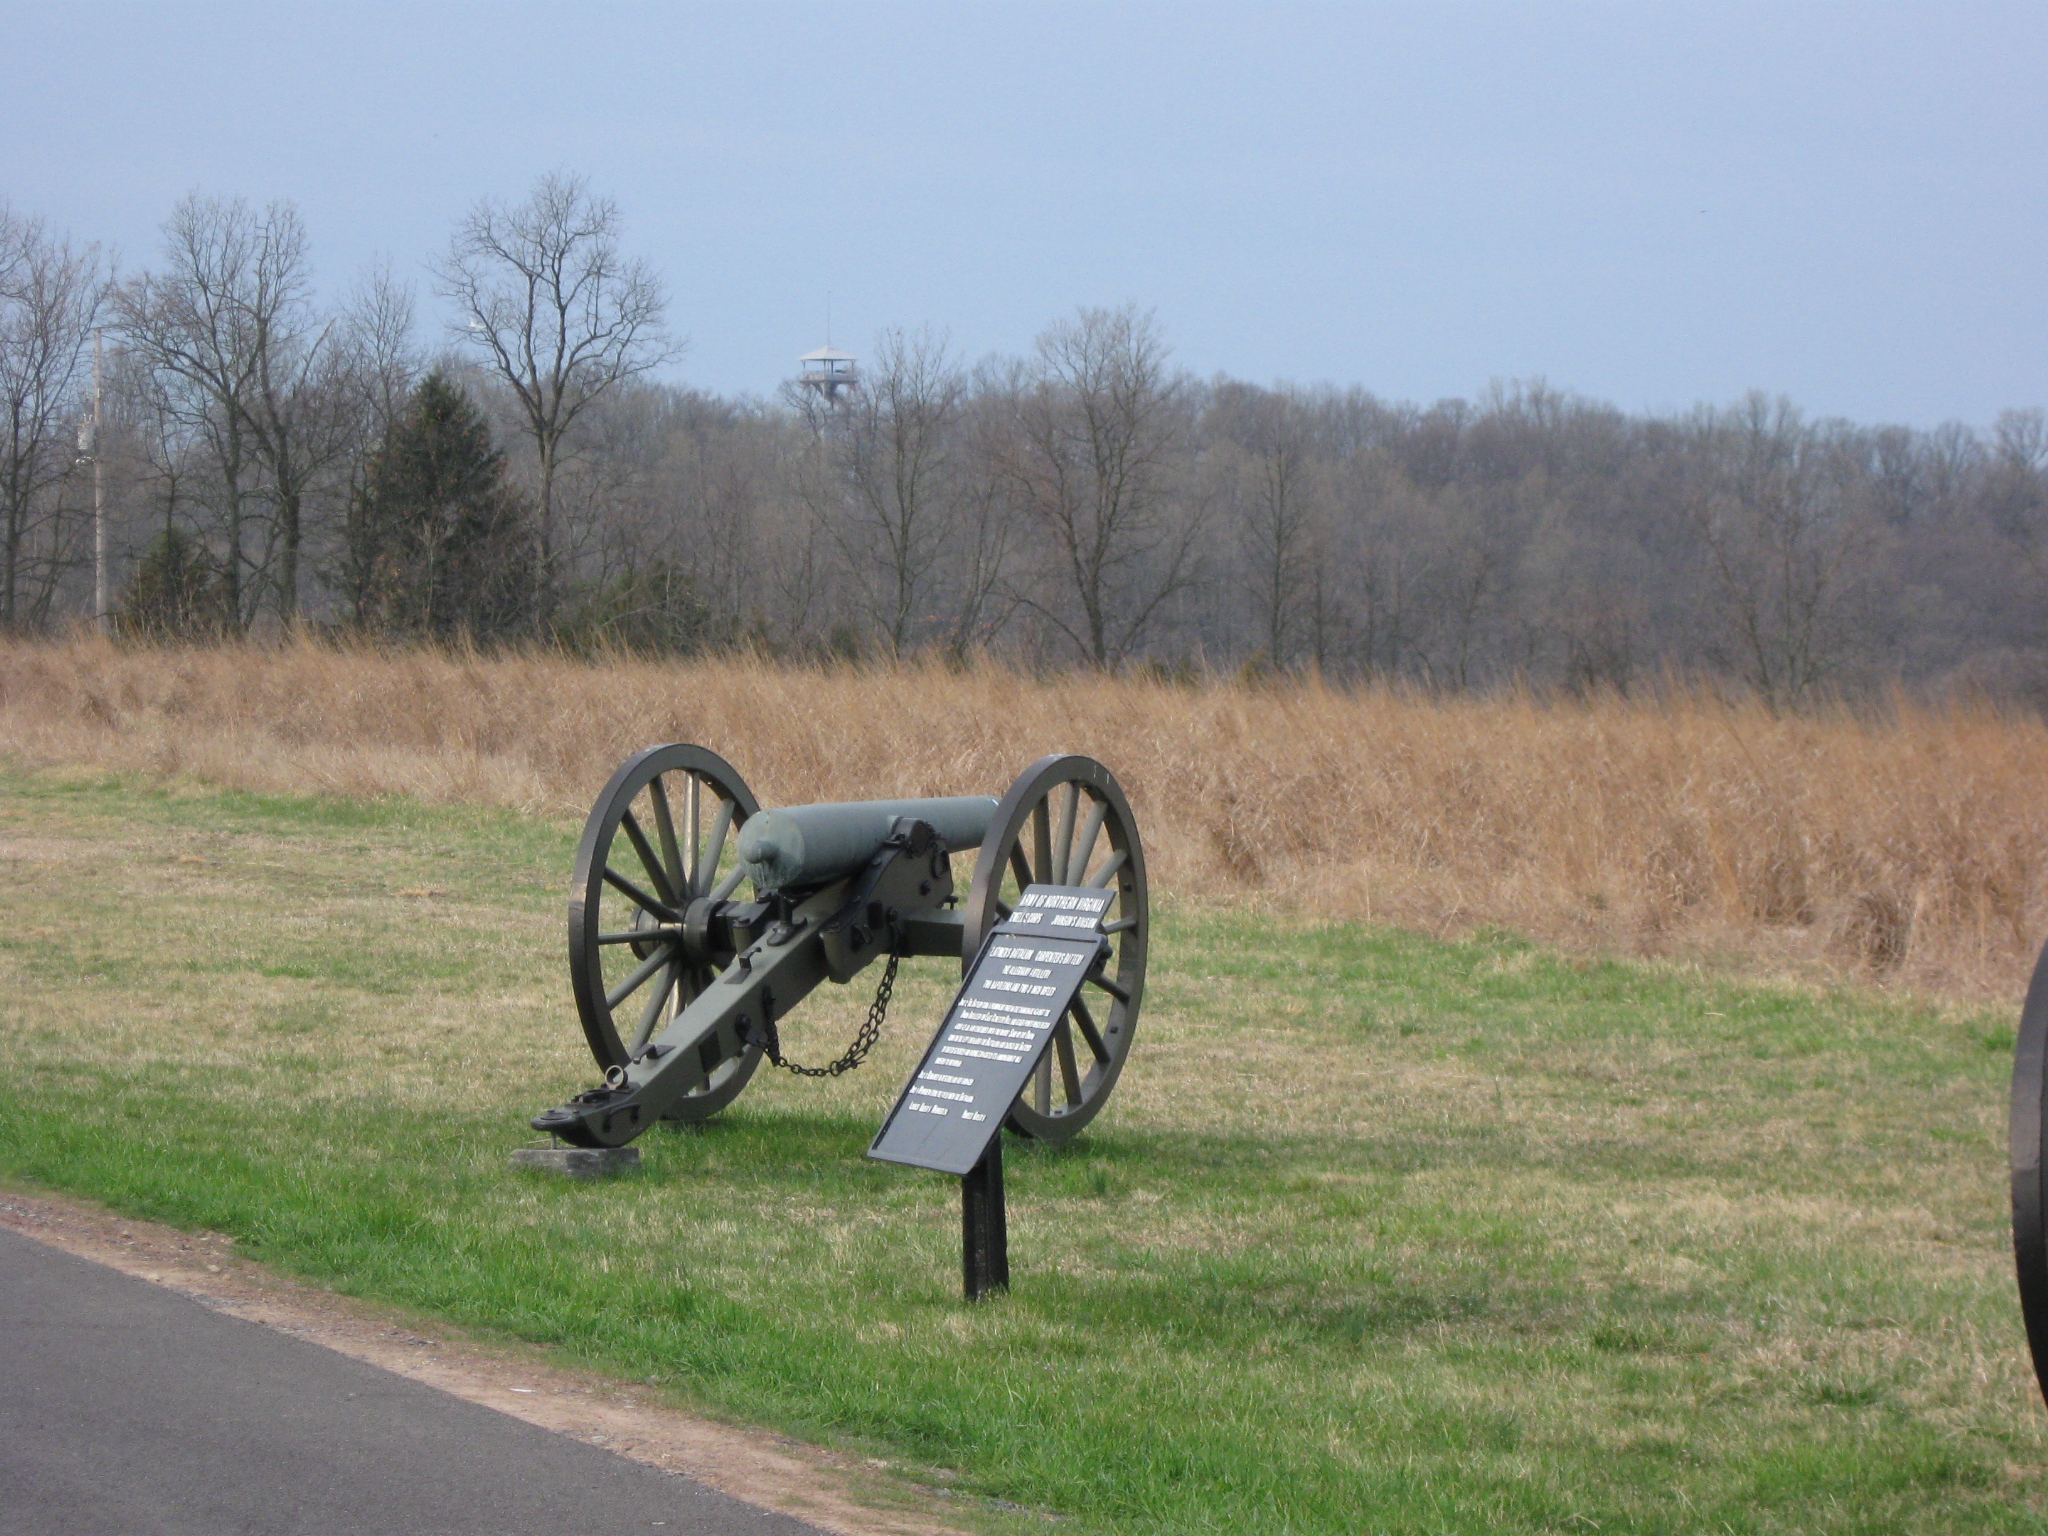
Culp’s Hill is topped by the metal observation tower. This view was taken facing southwest at approximately 9:45 AM on Friday, April 10, 2009.