

Gettysburg Licensed Battlefield Guide Stuart Dempsey is the host for our series on the Eleventh Corps at Gettysburg. He is standing in Sherfy’s Peach Orchard (THE Peach Orchard) on the Emmitsburg Road. The Wentz buildings would have been on the other side of the wooden fences behind (north of) Stuart. The red barn at the Sherfy Farm is in the background. The red Klingel Barn is in the right background. This view was taken facing north at approximately 4:00 PM on Monday, June 29, 2009.
In today’s post he brings Major-General Howard to the Peach Orchard, and shows the route that two of Howard’s divisions took to get to Gettysburg.
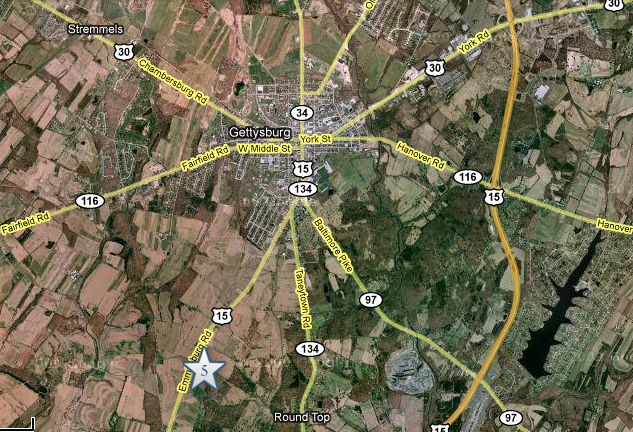
This map shows the location of where our Eleventh Corps at Gettysburg videos were produced. Videos #1-#4 and #6- #7 are shown on the map following this map. Video #5 was taken at Sherfy’s Peach Orchard (THE Peach Orchard). This map was created facing north at approximately 1:30 PM on Wednesday, July 1, 2009.

This map shows the location of where our Eleventh Corps at Gettysburg videos were produced. Videos #1-#3 were near the site of the Moritz Tavern. Video #4 was taken approximately 400 yards north of the Moritz Tavern where a road connected the Emmitsburg Road to the Taneytown Road in 1863. Video #5 was shot at Sherfy’s Peach Orchard which is a location shown on the previous map. Video #6 was filmed at the location of Barlow Road and the Taneytown Road. Video #7 was filmed at the intersection of the Barlow-Greenmount Road and the Taneytown Road. This map was created facing north at approximately 1:30 PM on Wednesday, July 1, 2009.
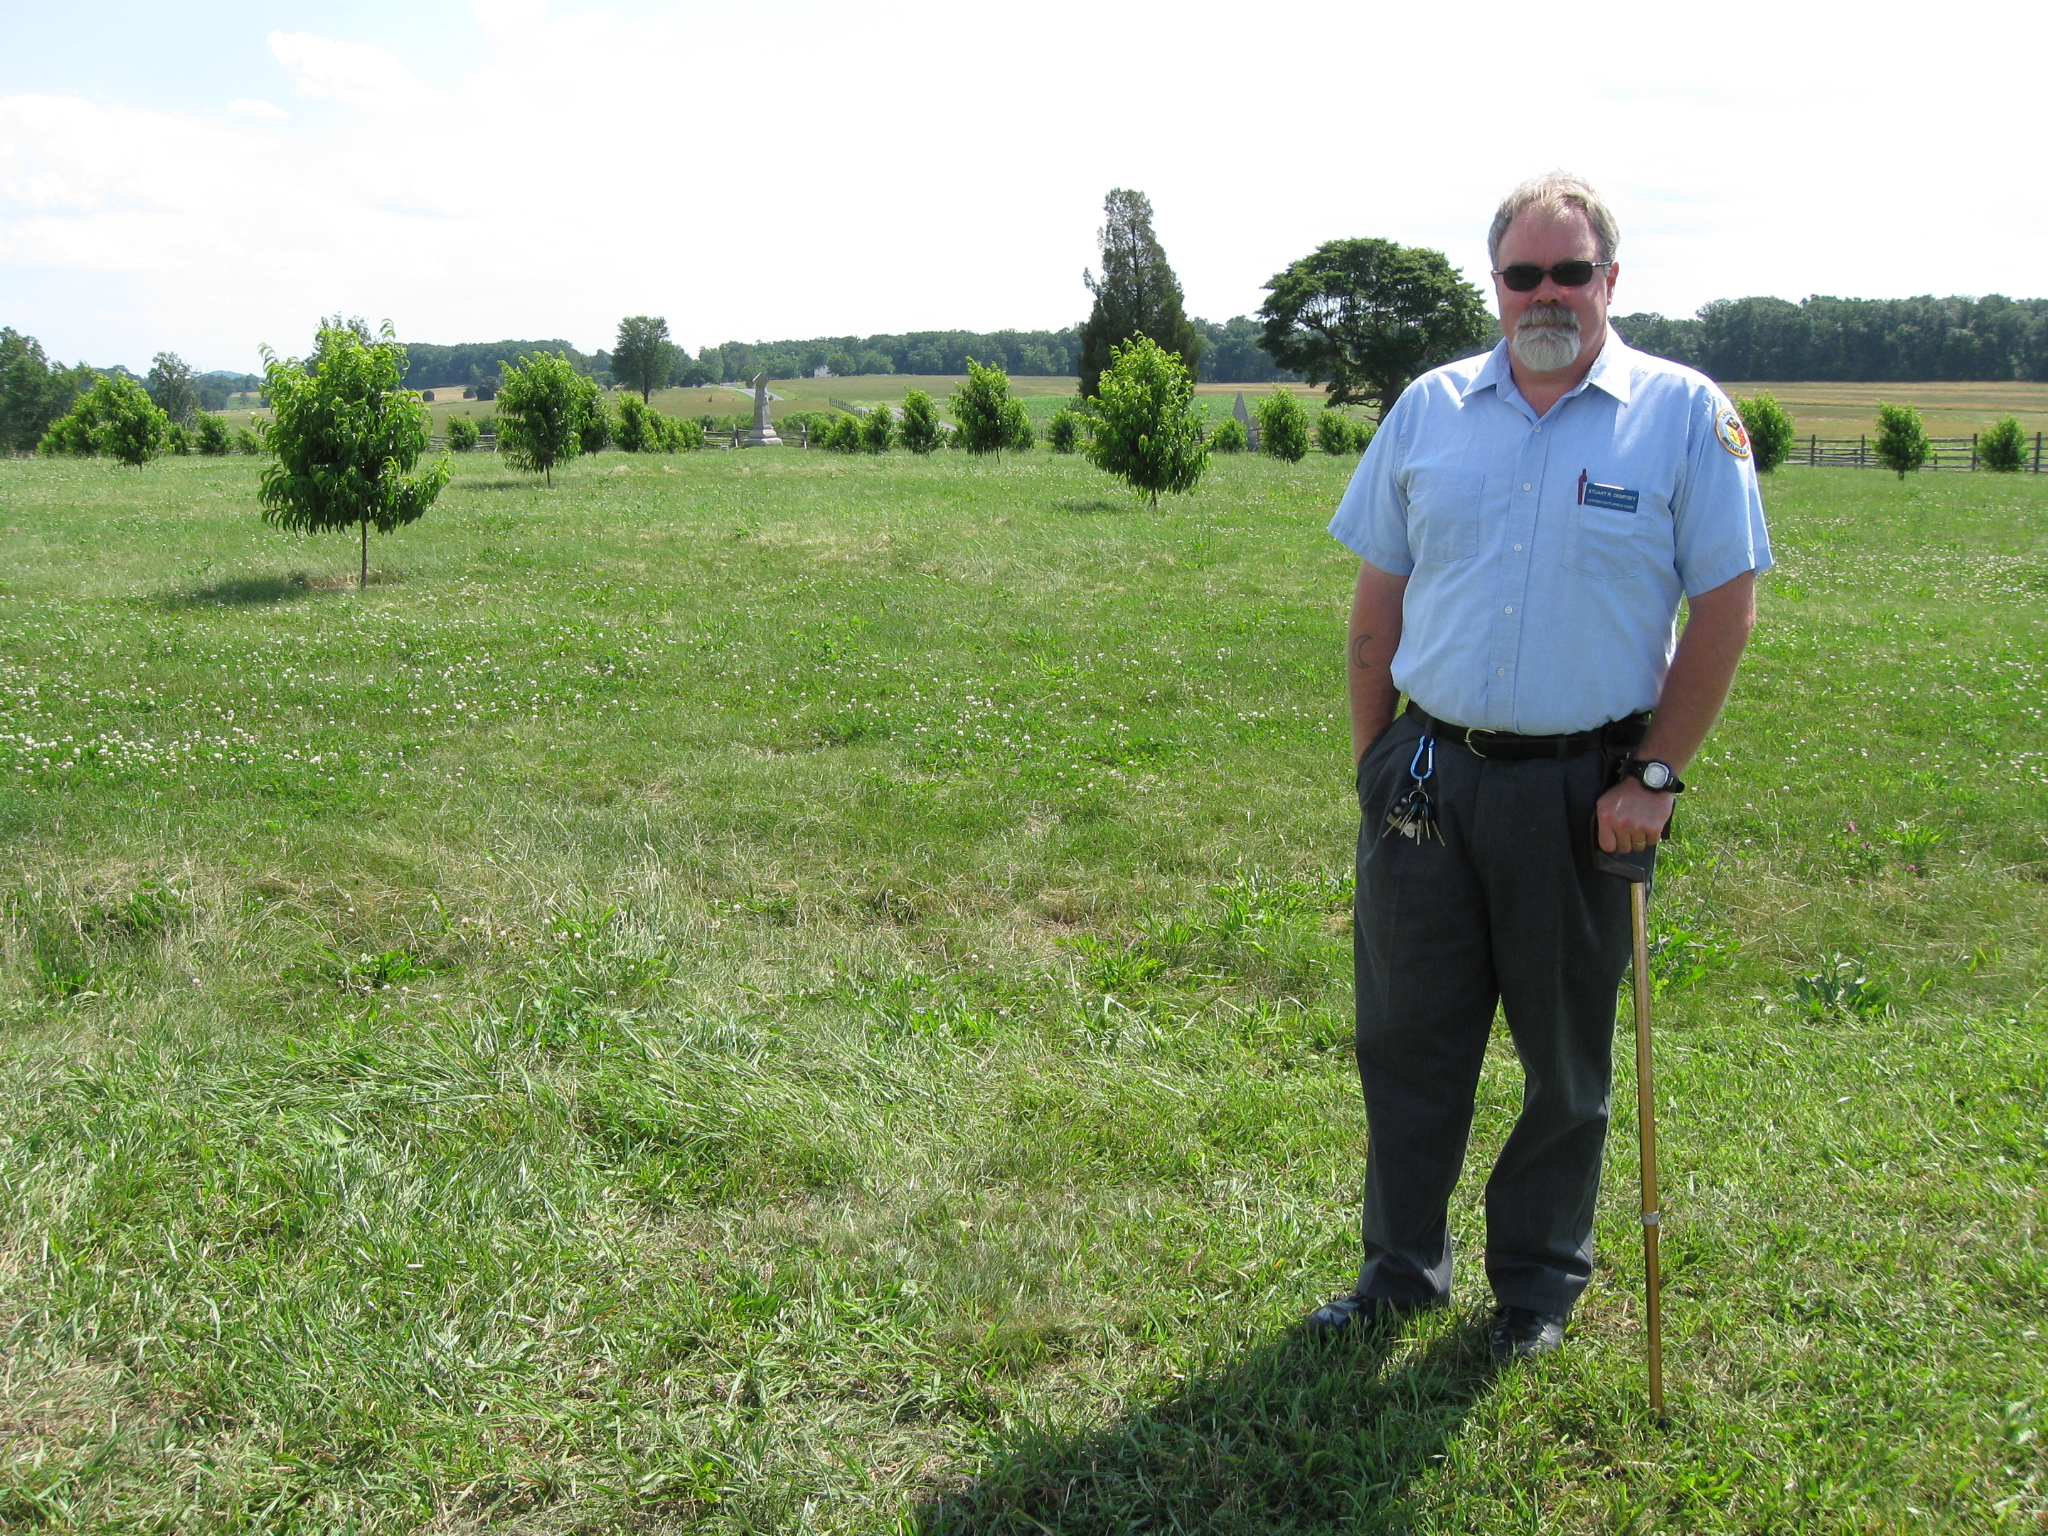
Gettysburg Licensed Battlefield Guide Stuart Dempsey has reached the Peach Orchard. Major-General Oliver Otis Howard, the commander of the Eleventh Corps reached this position on the morning of July 1, 1863. This view was taken facing southwest at approximately 4:00 PM on Monday, June 29, 2009.
In Video #5 (Videos #1- #4 were shown in our previous Eleventh Corps post) Licensed Battlefield Guide Stuart Dempsey discusses why Eleventh Corps commander Major-General Oliver Otis Howard was going to concentrate his corps at the Peach Orchard before he received word to move forward to Gettysburg. This view was taken facing southwest to northwest to northeast at approximately 4:00 PM on Monday, June 29, 2009.

While Francis Barlow’s First Division was coming up the Emmitsburg Road towards Gettysburg and would pass by the Peach Orchard, the other two divisions in the Eleventh Corps were taking a longer route to Gettysburg. As shown in our previous post on the Eleventh Corps, Carl Schurz’s Third Division in the lead, and Adolph von Steinwehr’s Second Division took a route to the east. They were marching towards the Taneytown Road on what is now known as Chapel Road. Stuart Dempsey is pointing out Chapel Road. The Eleventh Corps would have marched on it from right to left, or west to east. This view was taken facing southwest at approximately 4:00 PM on Monday, June 29, 2009.

The divisions then took a left (traveling mostly north) on what is now known as Barlow Road. This view was taken facing southeast at approximately 4:00 PM on Monday, June 29, 2009.
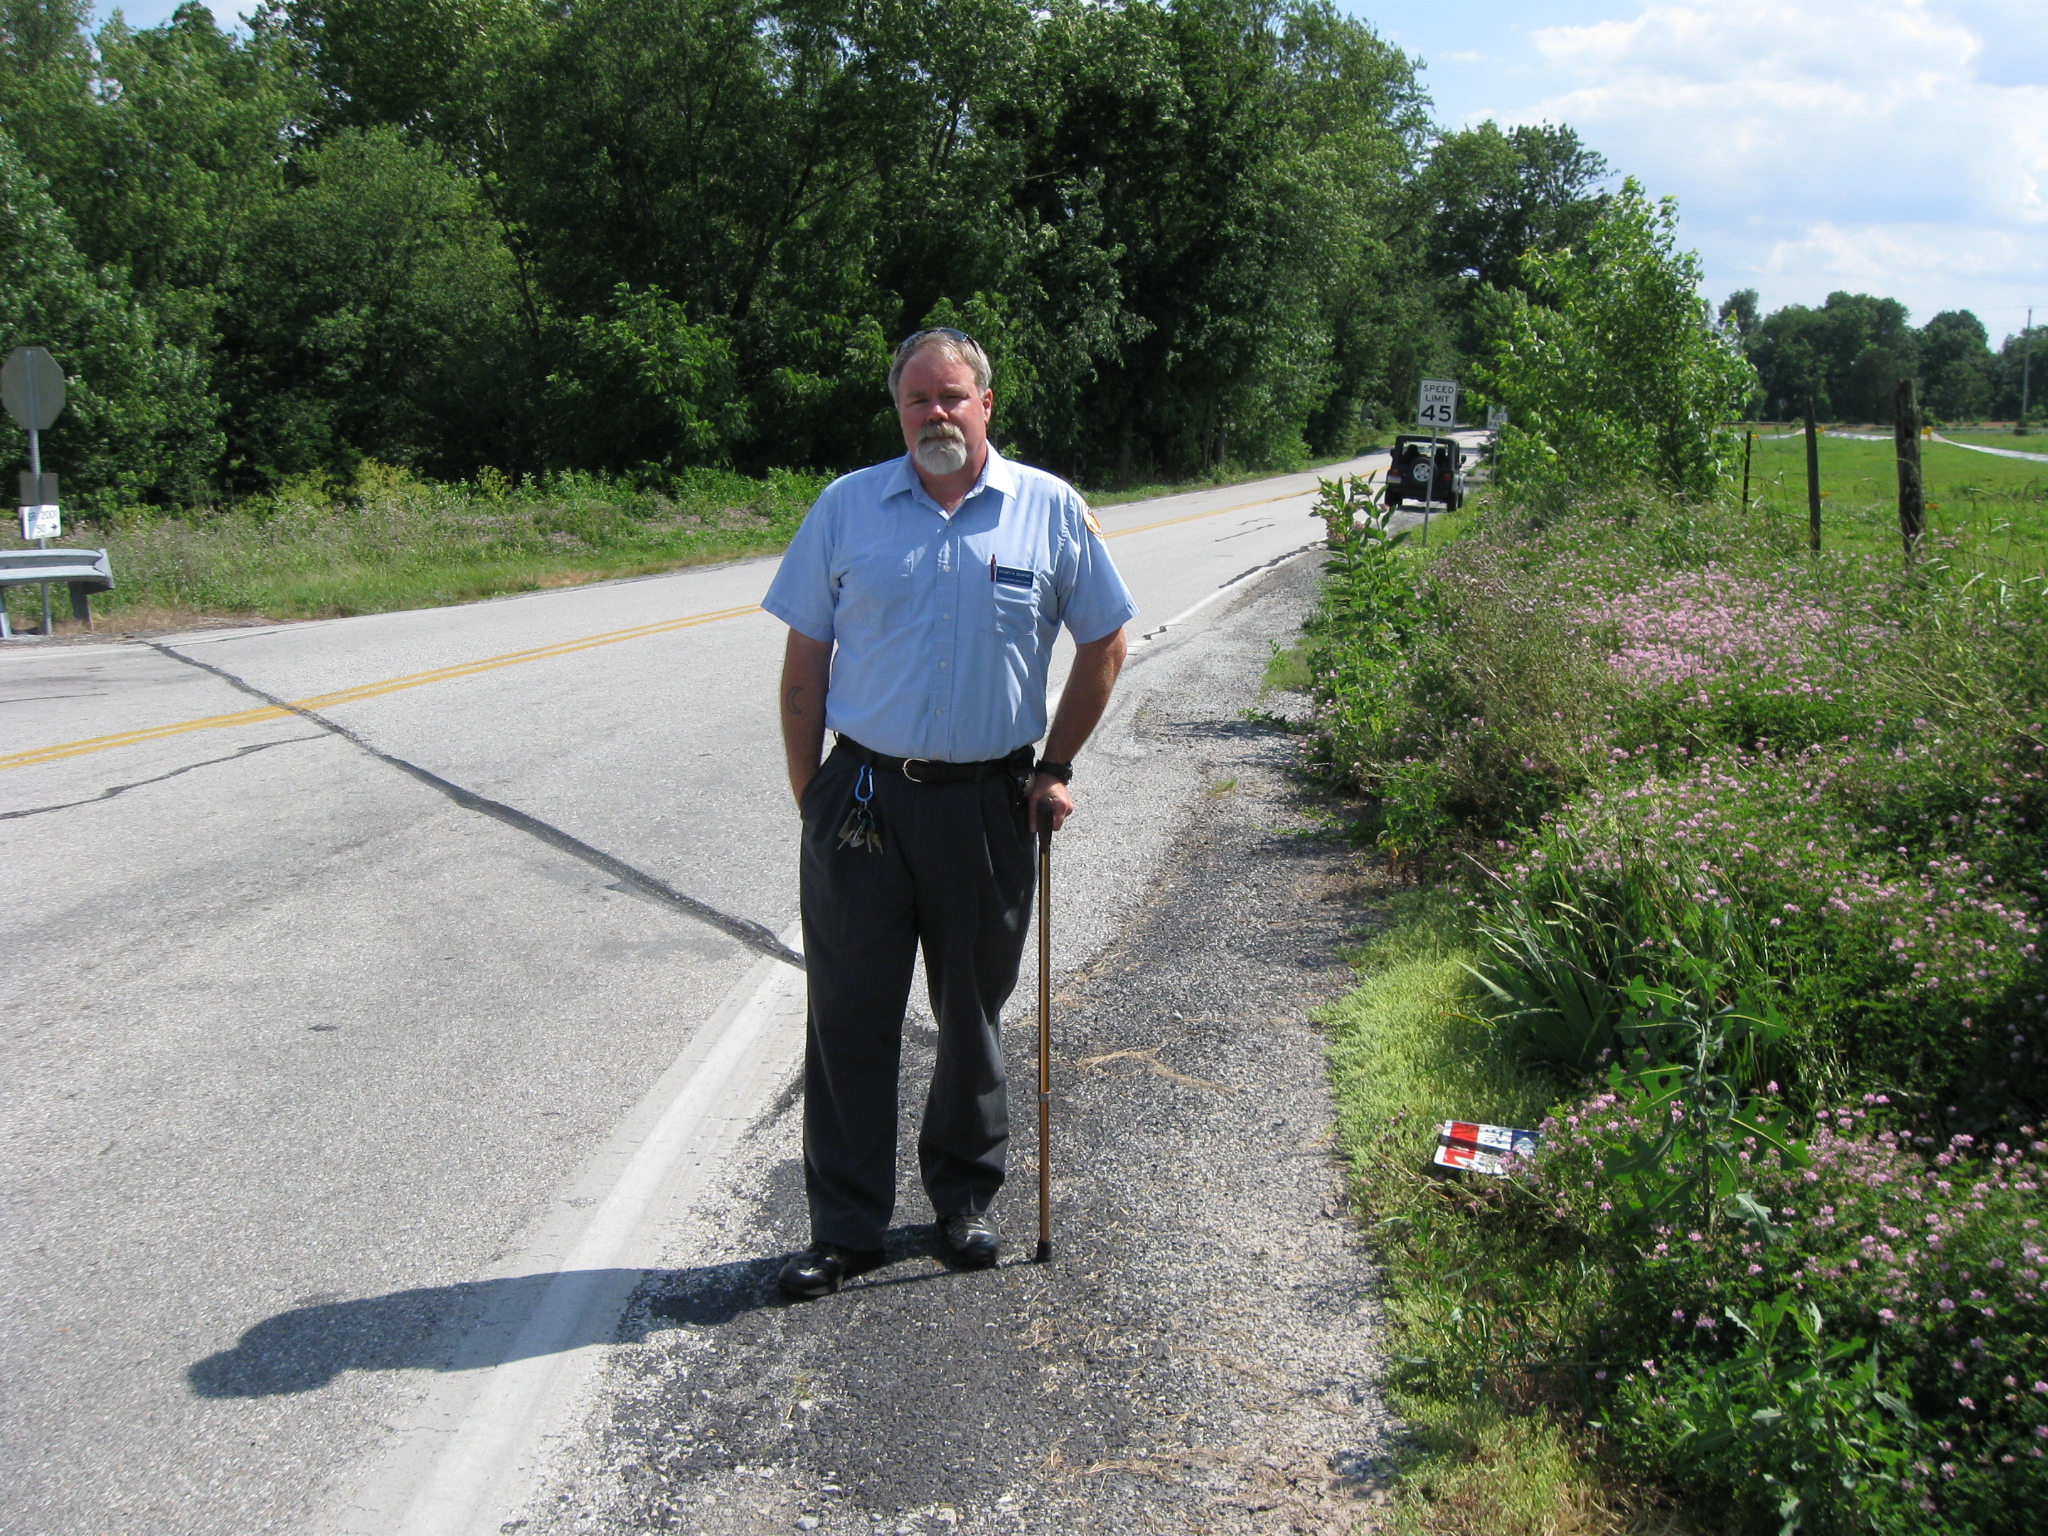
They marched on Barlow Road coming towards the camera, for approximately a quarter of a mile until they reached… This view was taken facing southwest at approximately 4:00 PM on Monday, June 29, 2009.

… the Taneytown Road. The bridge in the background is where the Taneytown Road crosses Rock Creek. Horner’s Mills were on the other (southeast) side of the bridge. This view was taken facing southeast at approximately 4:00 PM on Monday, June 29, 2009.
In Video #6 Licensed Battlefield Guide Stuart Dempsey shows us where the two Eleventh Corps divisions accessed the Taneytown Road. He also explains the mills that were at Horner’s Mills at the time of the battle, and that this is where Carl Schurz learned he was in charge of the Eleventh Corps. This view was taken facing southeast to southwest at approximately 4:00 PM on Monday, June 29, 2009.

Stuart Dempsey has now moved up to the intersection of the Barlow-Greenmount Road and the Taneytown Road. This view was taken facing north at approximately 4:00 PM on Monday, June 29, 2009.
In Video #7 Stuart explains that while the Pennsylvania Historical Commission marker states that the two divisions of the Eleventh Corps accessed the Taneytown road by way of the Barlow-Greenmount Road, he didn’t think that was true. This view was taken facing north to south at approximately 4:00 PM on Monday, June 29, 2009.

A closer view of the Pennsylvania Historical Commission marker. This view was taken facing north at approximately 4:00 PM on Monday, June 29, 2009.
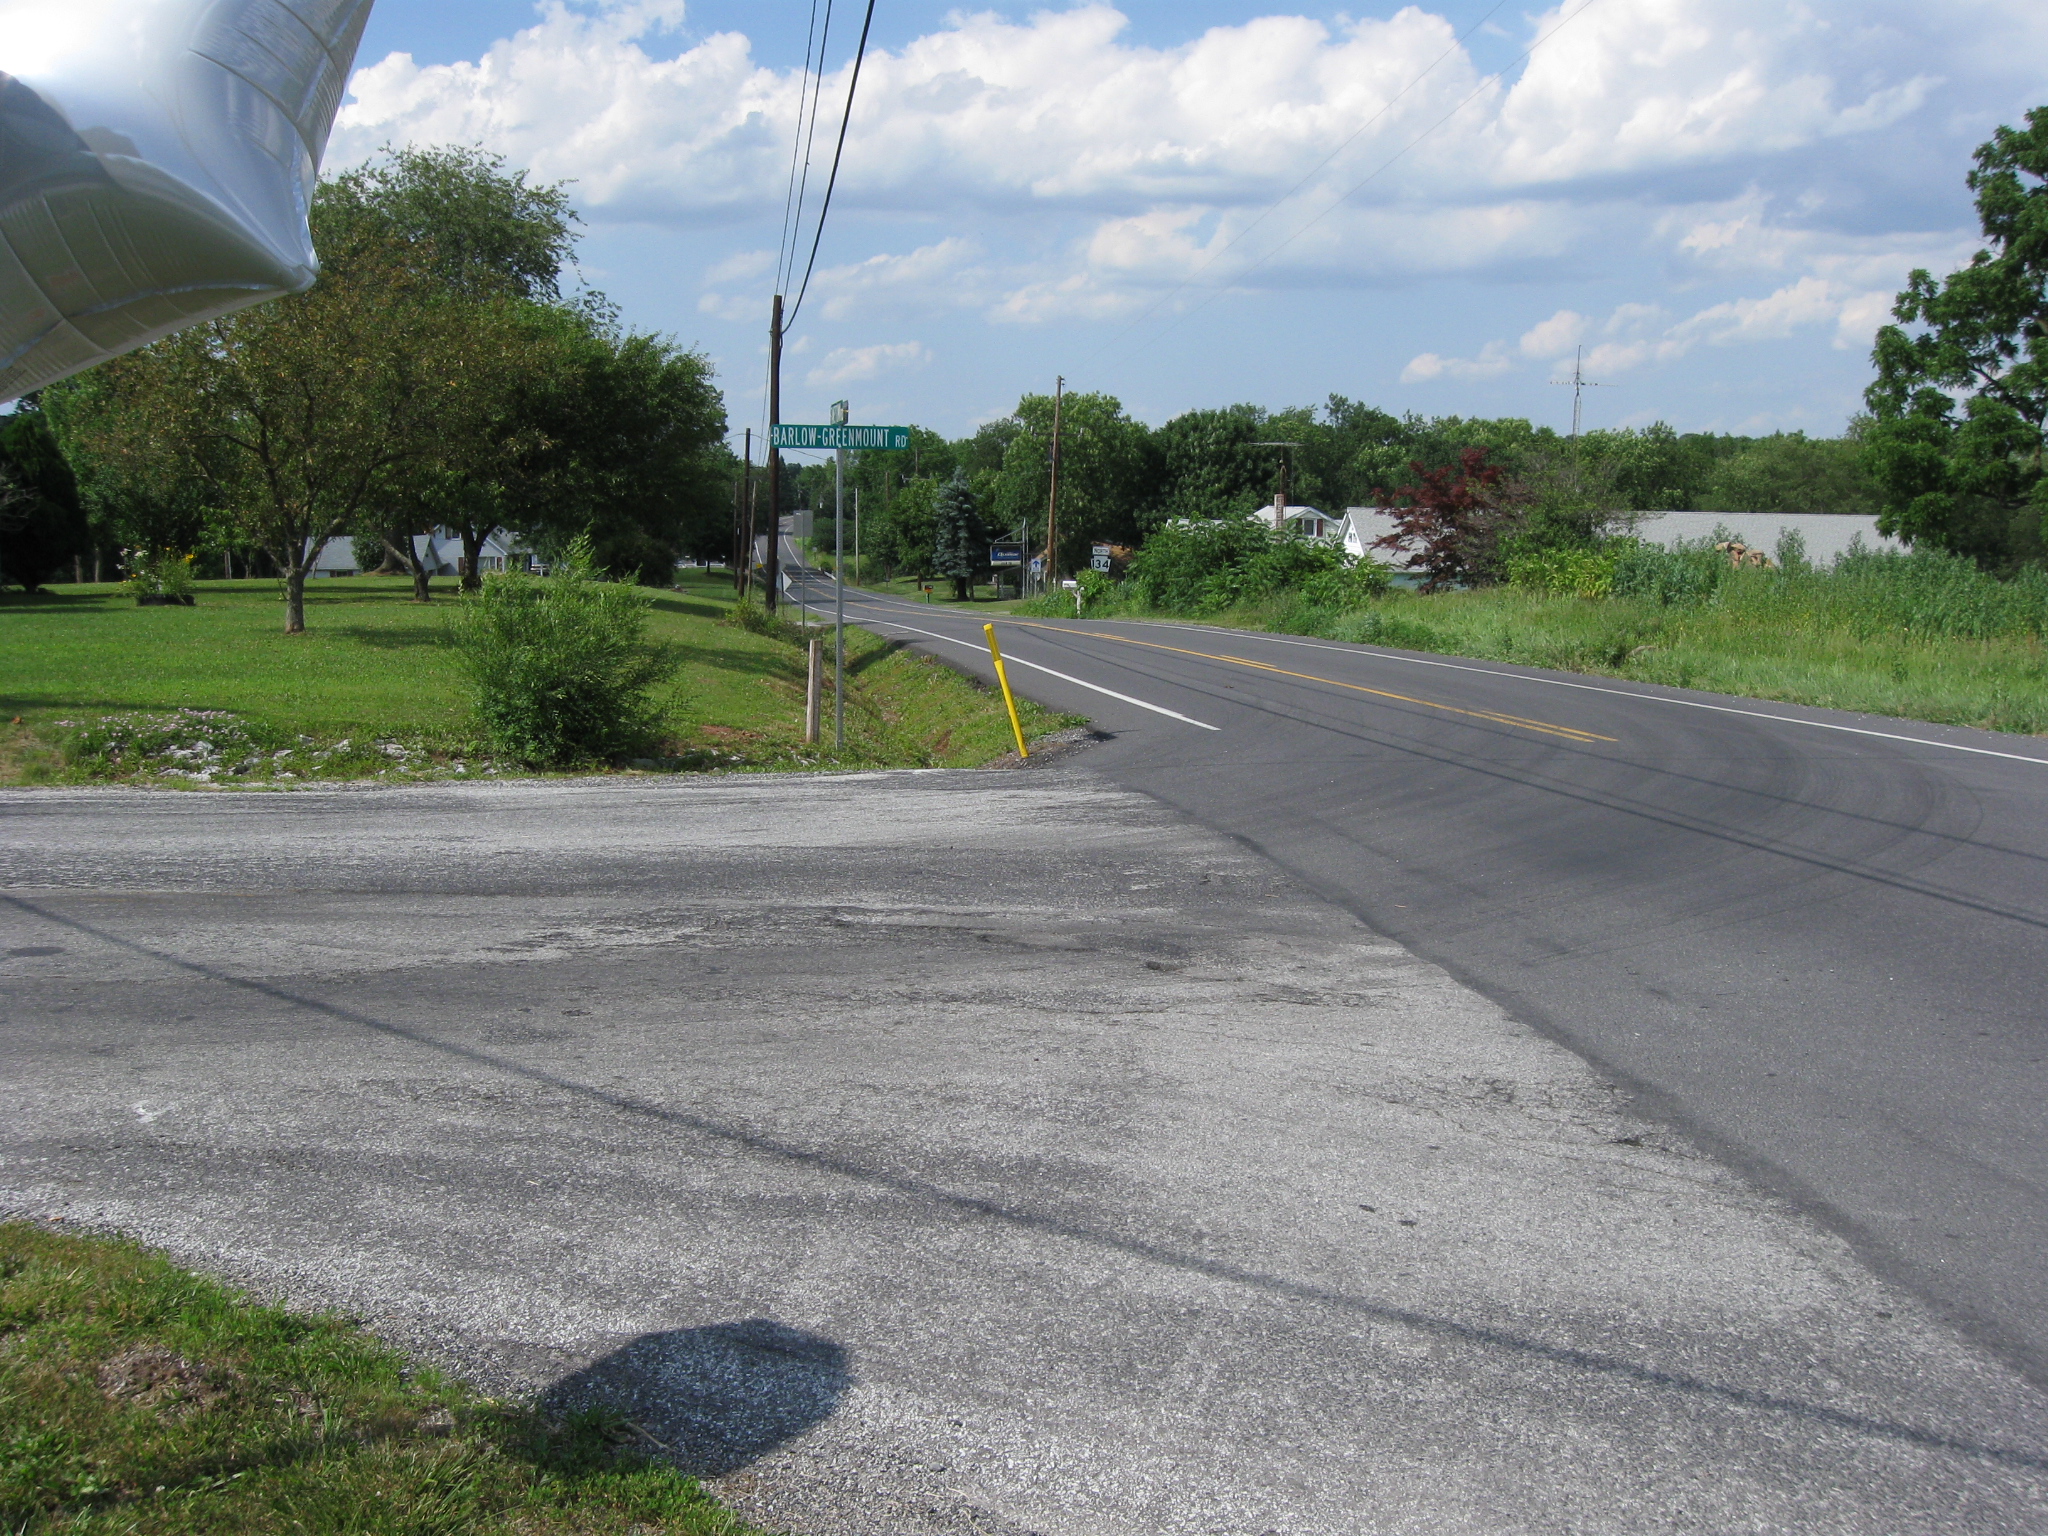
Stuart does not believe that Schurz’s and von Steinwehr’s divisions accessed the Taneytown Road by the Barlow-Greenmount Road. The Taneytown Road is on the right. To get to Greenmount, one would take a left (going west) at this junction. This view was taken facing north at approximately 4:00 PM on Monday, June 29, 2009.
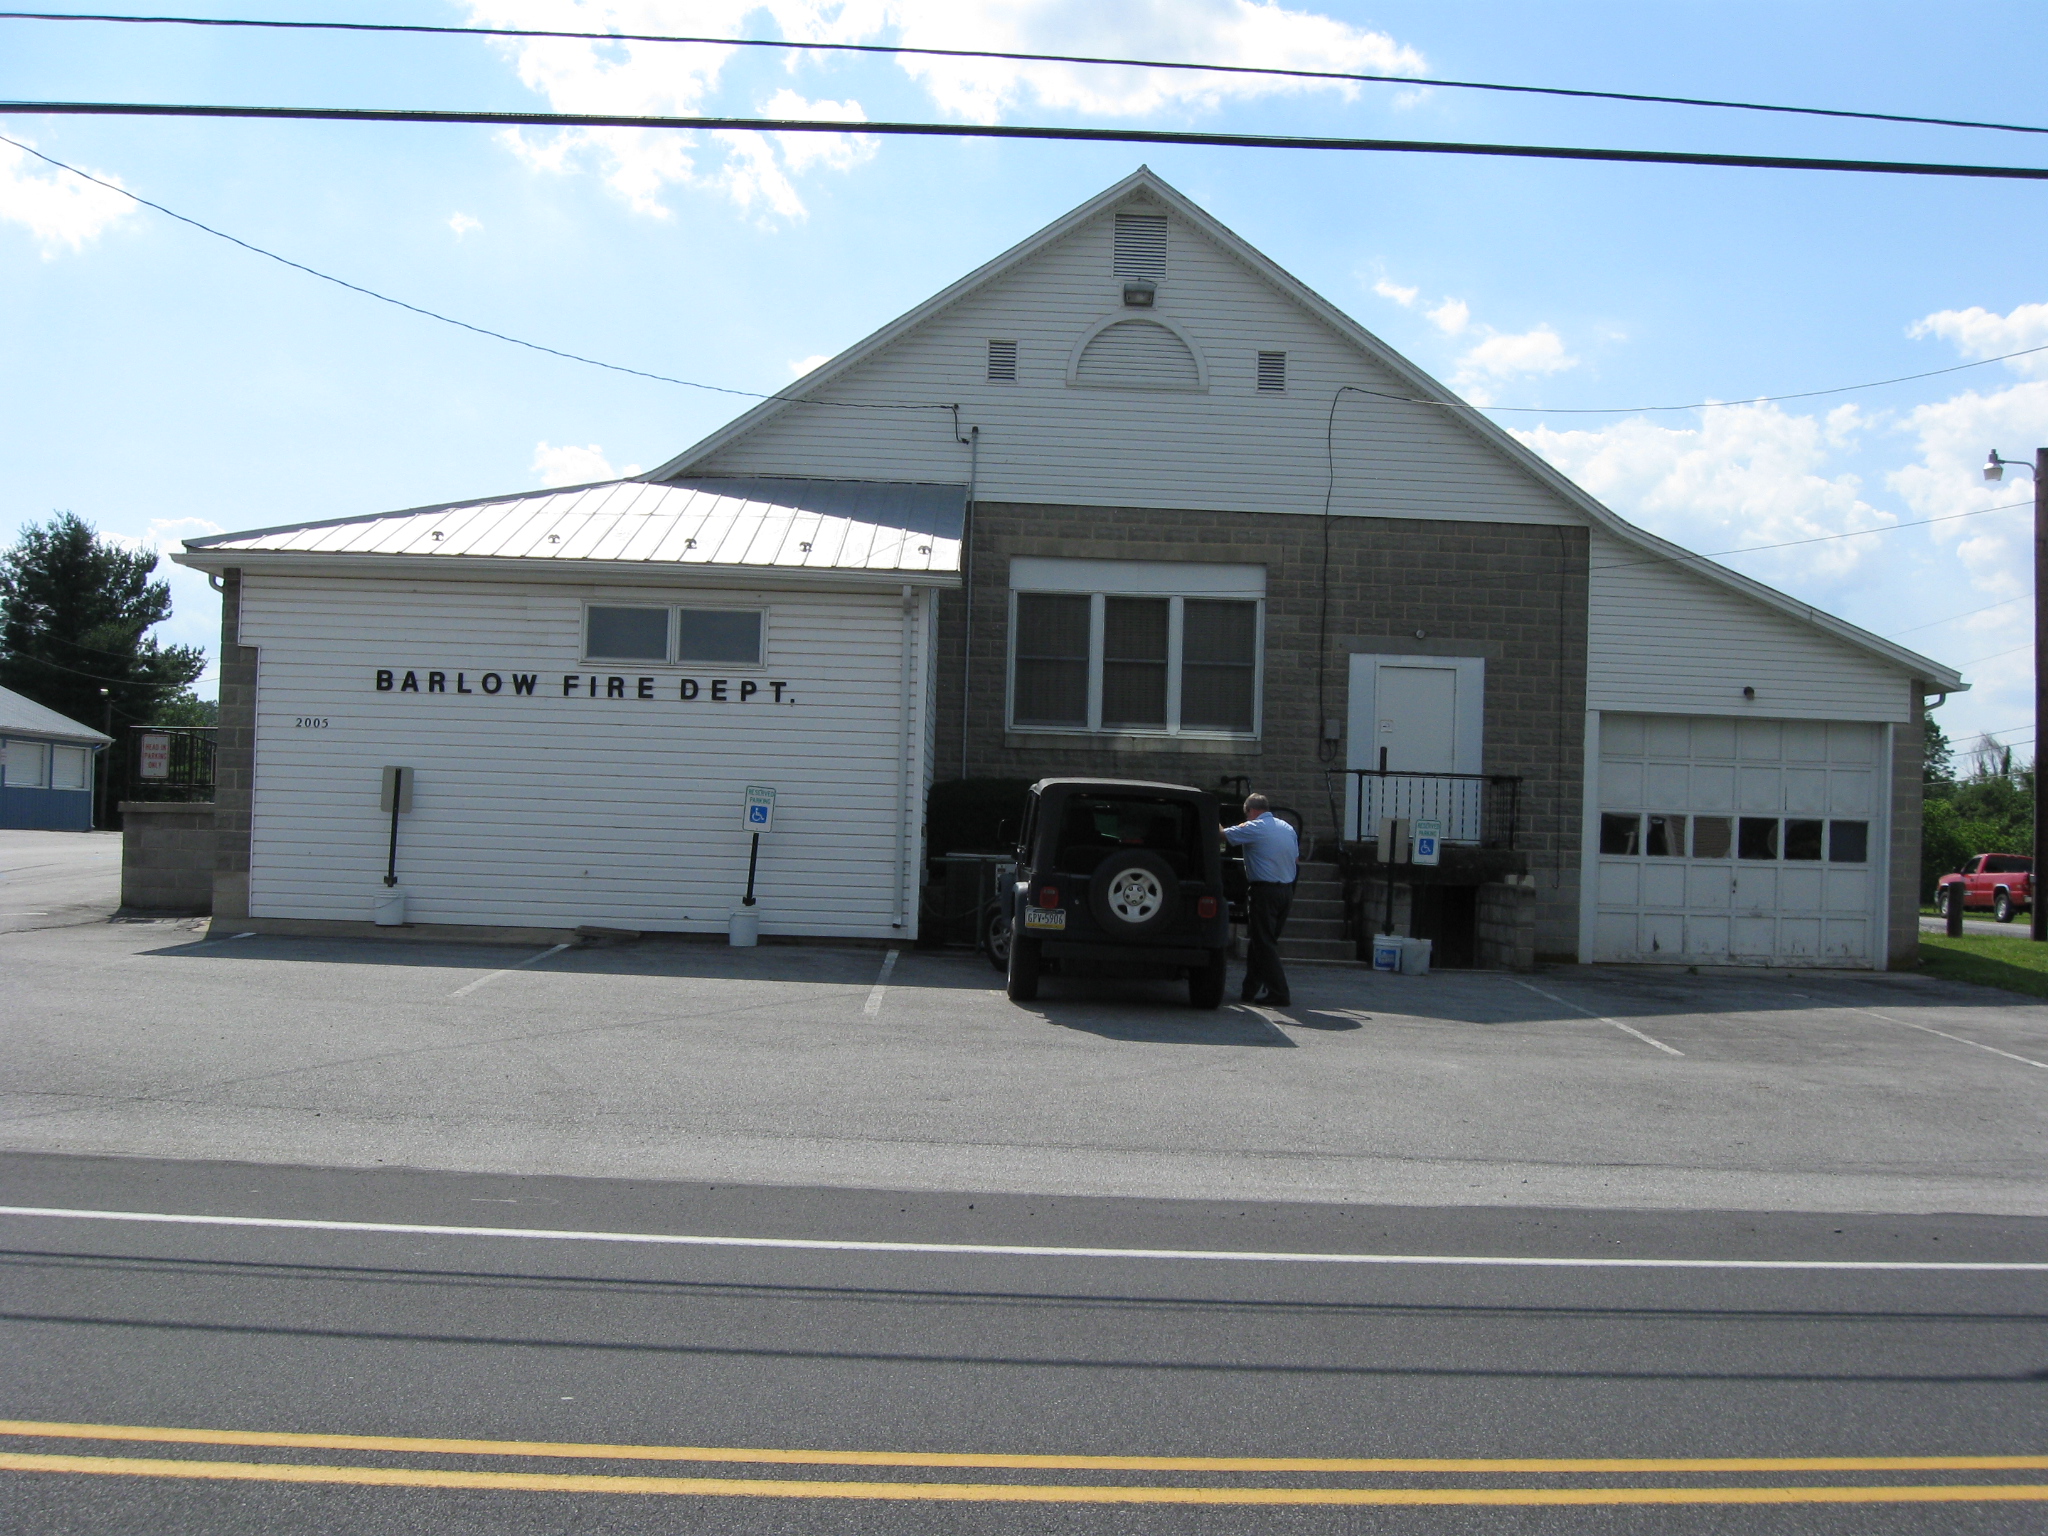
The Barlow Community Fire Department. Barlow was named Horner’s Mills at the time of the battle. It was later named for Francis Barlow who did not march his division here (he was on the Emmitsburg Road) on his way to Gettysburg. This view was taken facing west at approximately 4:00 PM on Monday, June 29, 2009.